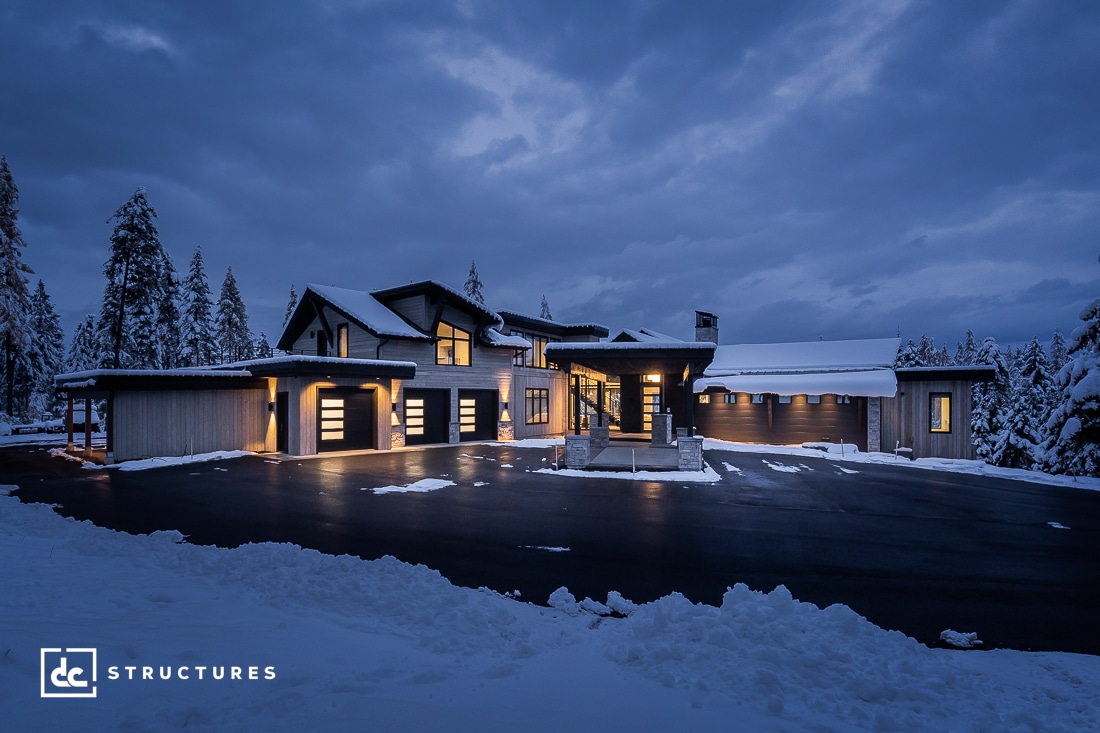
Heating your home can be expensive, especially during the wintertime. While natural gas is the cheapest and most popular heat source for homes in the U.S., it can cost up to $1,024 to run for the entire season. That’s almost $350 a month toward heating bills alone. Winterizing a home helps homeowners save energy and money, while preventing unexpected damages from ruining holiday shopping plans. After all, there’s nothing worse than dealing with busted pipes and pest infestations while celebrating with family and friends. Here’s how you can winterize your home design to prepare for an enjoyable, cost-effective winter.
Do I Need to Winterize my Property?
The answer is yes, and it’s still yes if you live in Southern California or Hawaii. It’s always a good practice to prepare for the worst, even if that means occasional rain and temperature drops. That being said, it really comes down to the predicted climate for your area.
Consider the Temperature and Weather
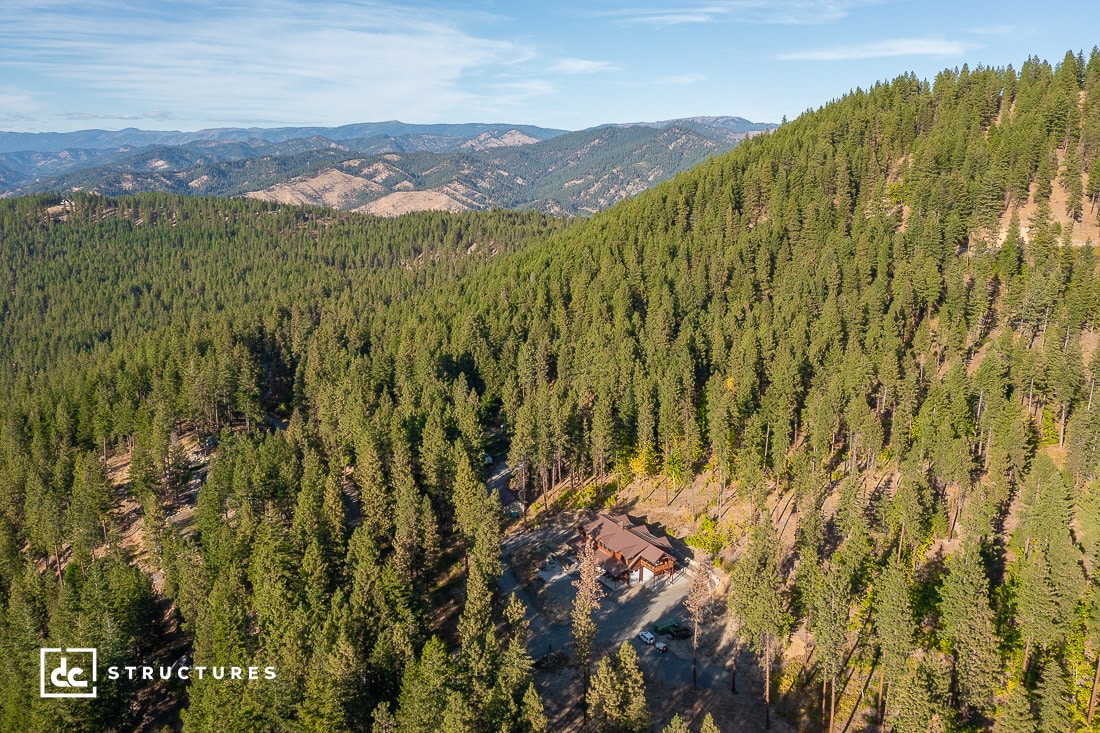
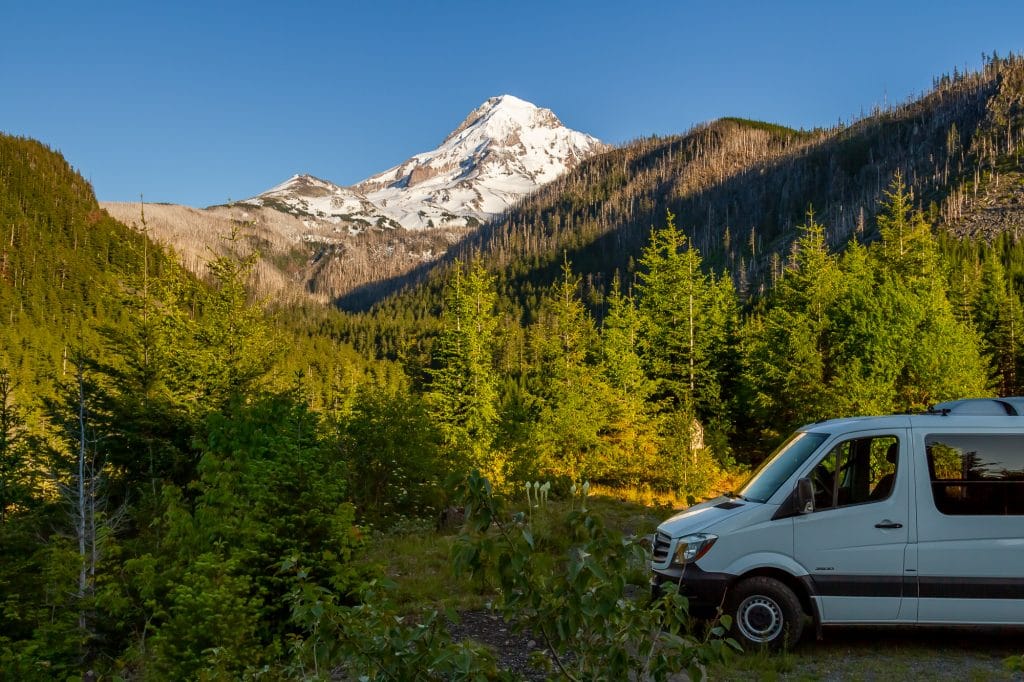
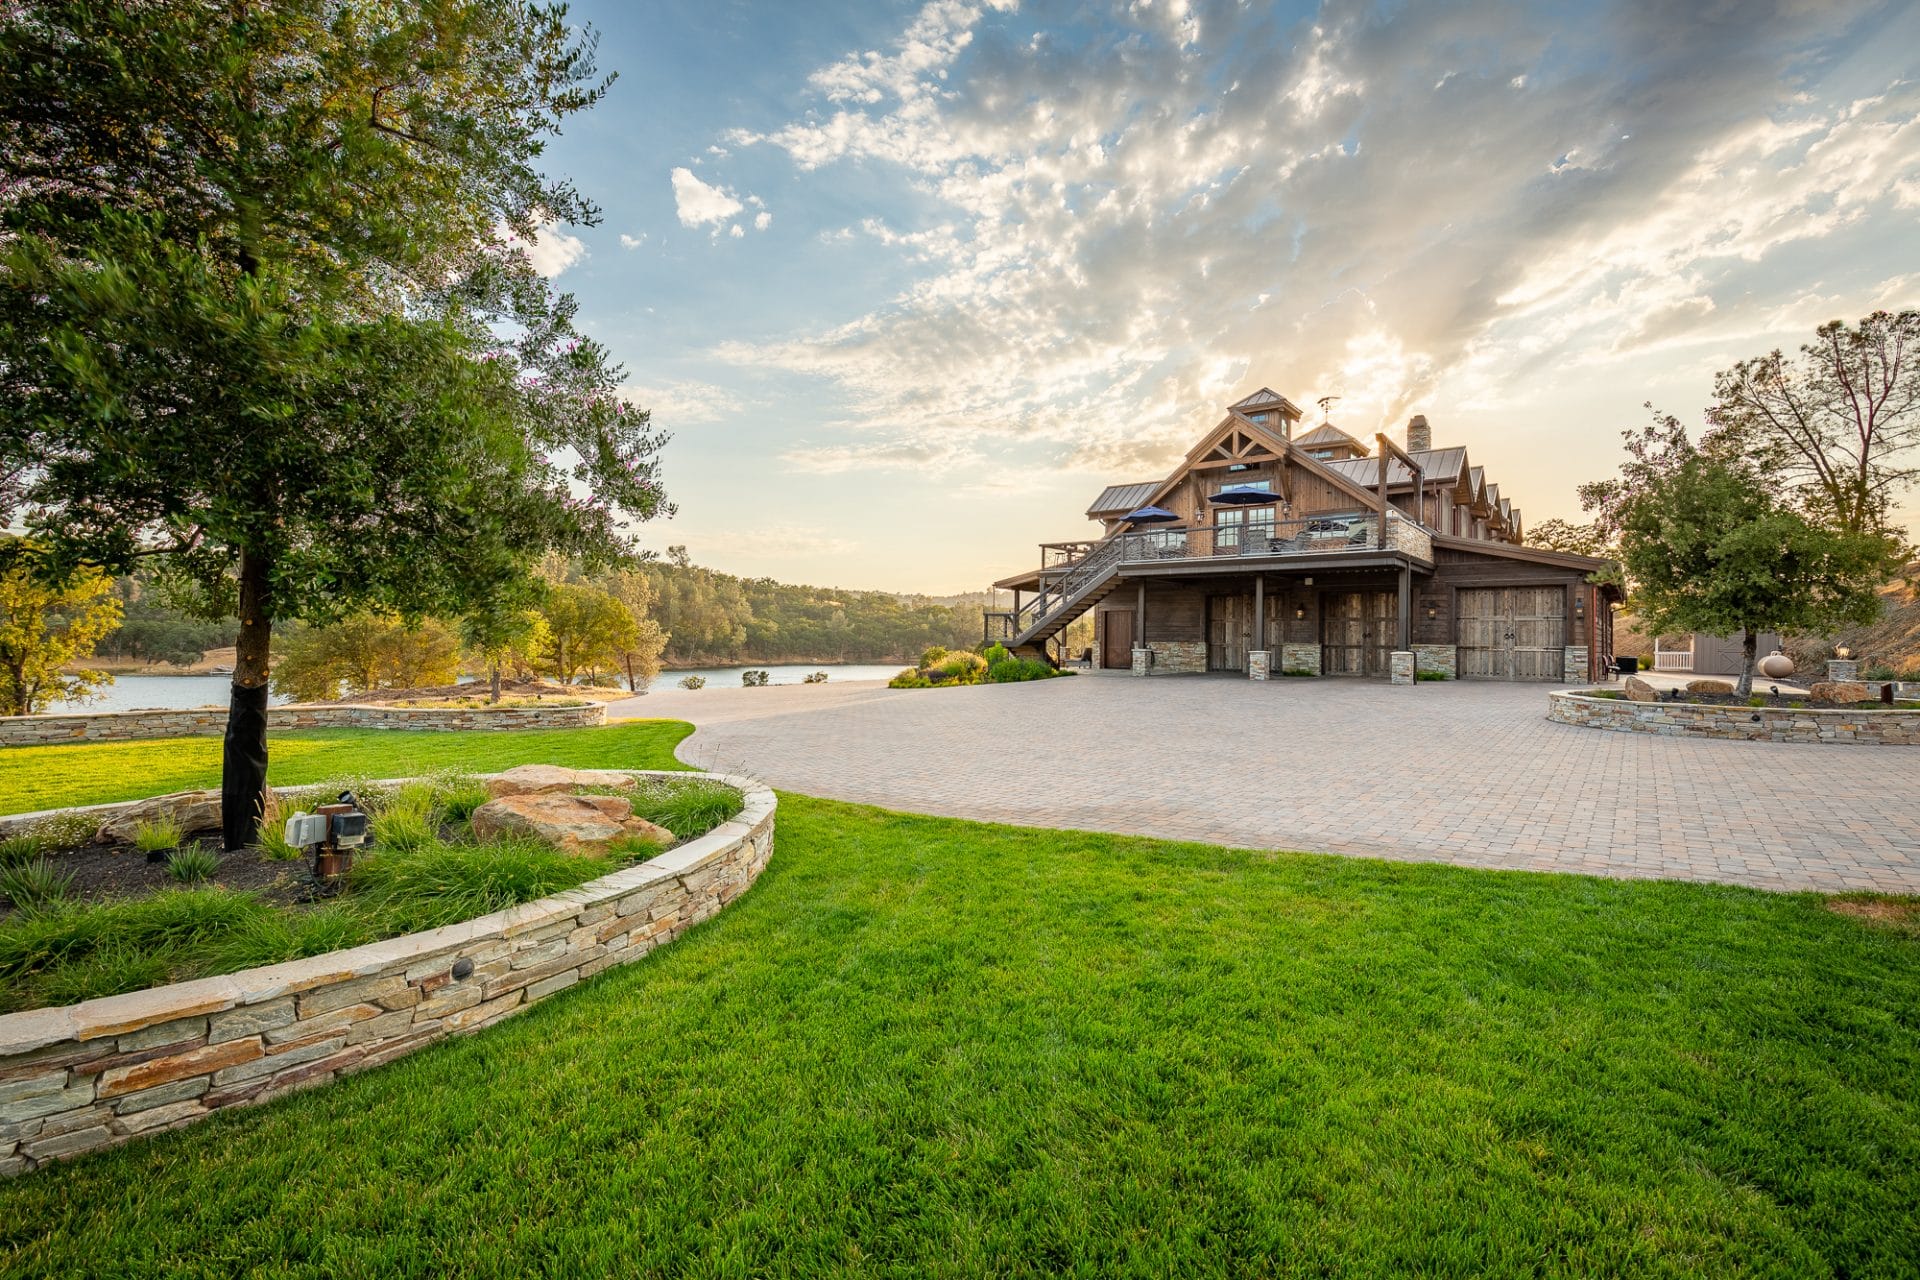
Not all regions are the same. Winter on the east coast is nothing like winter on the west coast. Consider that preparing for months of heavy snow will look completely different than winterizing for 60 degree weather. Wooden cabins will most likely need to be winterized. Nonetheless, there are ways to winterize your home that are helpful to any homeowner, regardless of where they live in the states.
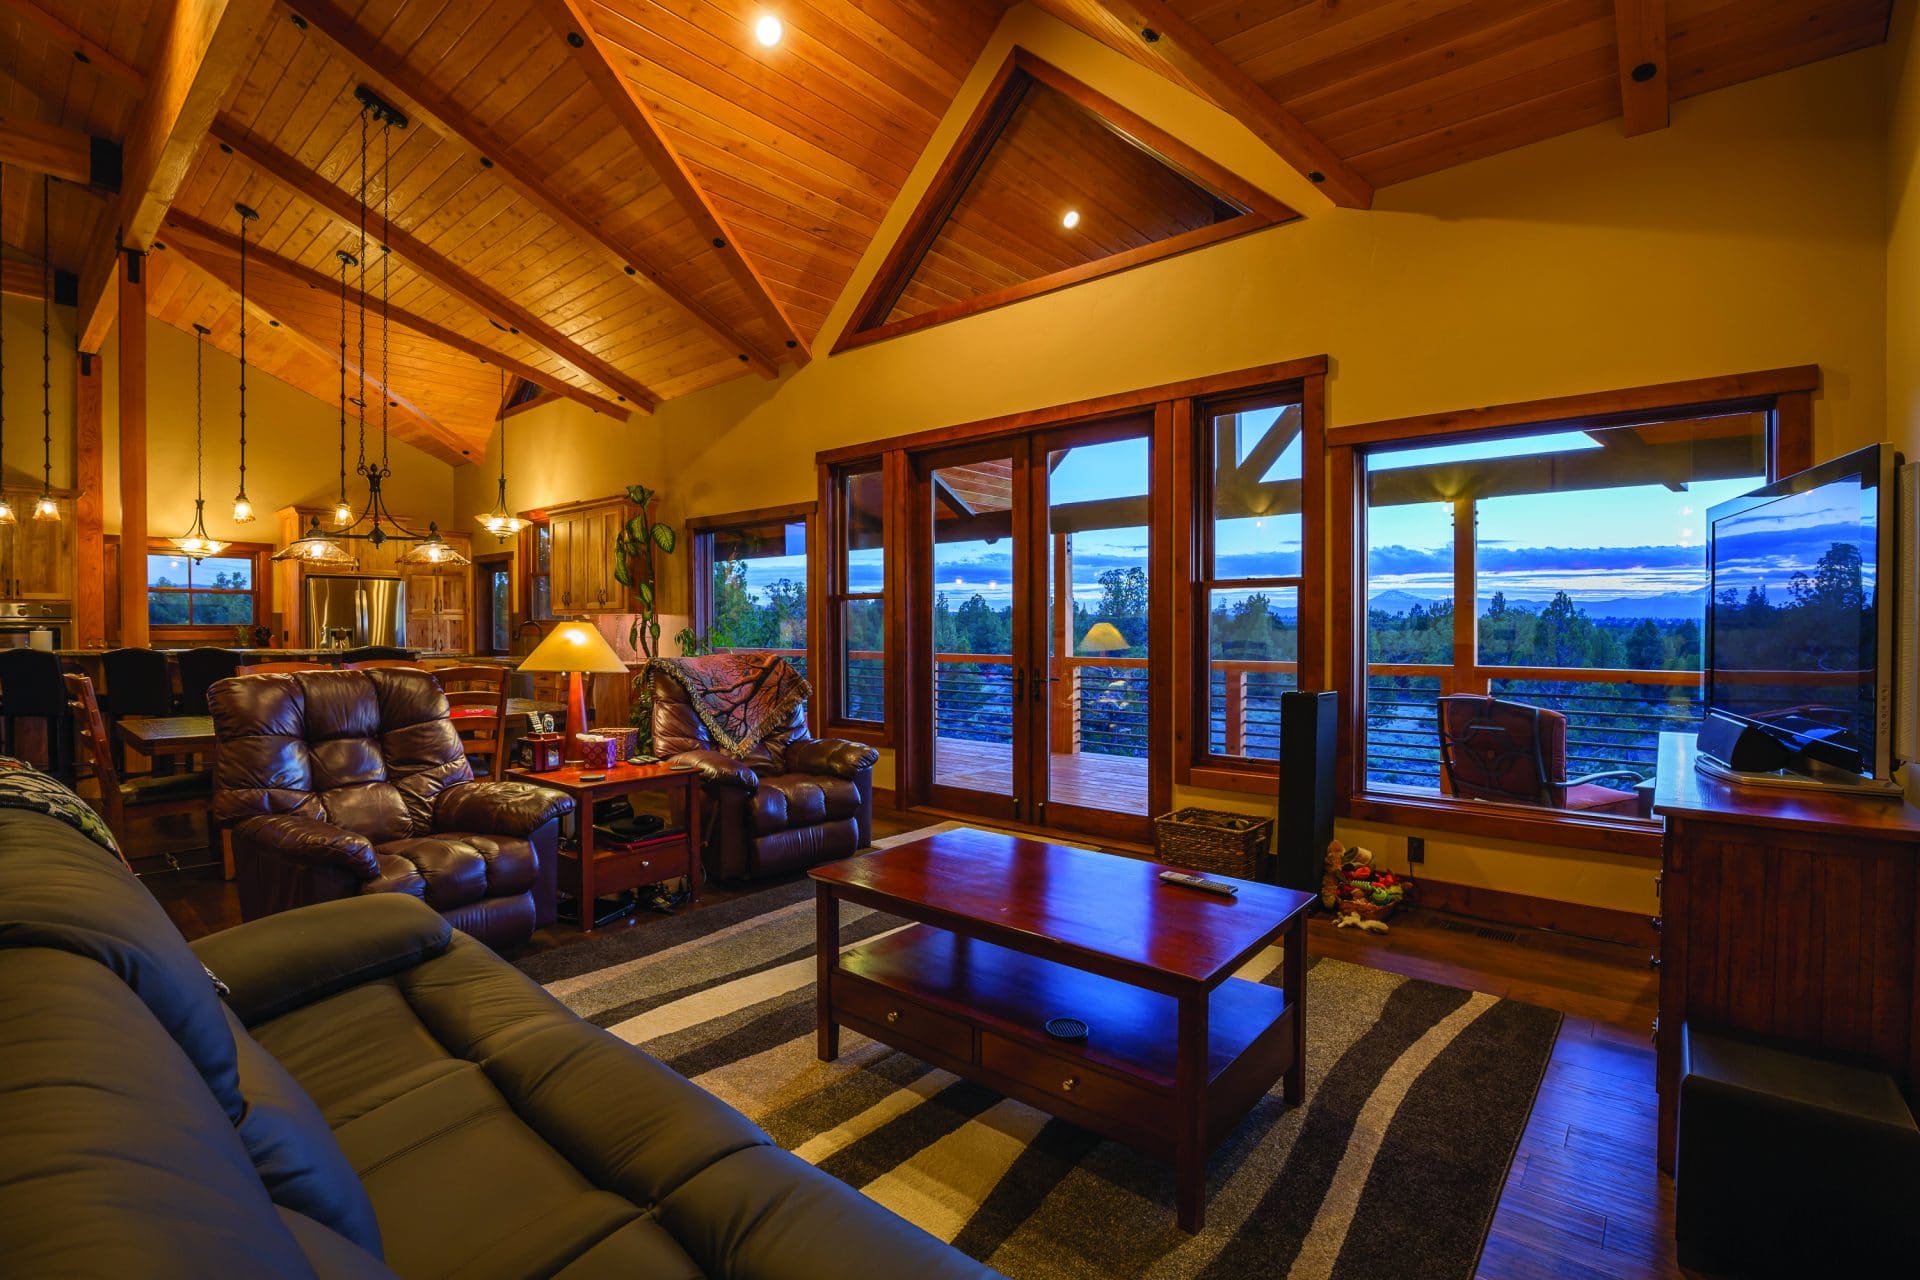
How to Winterize the Interior
There are dozens of ways to make sure your home stays cozy and warm in the winter aside from breaking out the blankets and sipping on hot cocoa. Below is a comprehensive list of tested methods for keeping heat in and cold out.
Heating Systems
As mentioned earlier, heating systems can cost a pretty penny over the winter season. While natural gas is the cheapest and most popular option for American homeowners, you can also heat your home using heating oil, propane, or electricity. These sources will drive up monthly costs quite a bit, but they do provide an easy fix.
If you’re intent on bypassing expensive heating costs, CNBC recommends these DIY options:
- Turning your water heater down to 110 degrees, as it saves you money by lowering the temperature. The Department of Energy estimates you can save $12 or $30 per year for every 10 degrees lowered.
- Washing clothes in cold water so you can avoid starting up the water heater.
- Installing a smart thermostat that allows you to set specific times for your furnace to run, which also saves energy.
- Using compact fluorescent lightbulbs instead of incandescent bulbs. Compact fluorescent lightbulbs use 75 percent less energy on average and are said to last 10 times longer.
- Switching to smart power strips that cut off energy wasted on unused devices like game systems and DVD players.
- Investing in new appliances that can save you an estimated $75 per year. Outdated appliances are more prone to repairs and setbacks, which can end up costing you more money and energy in the long run.
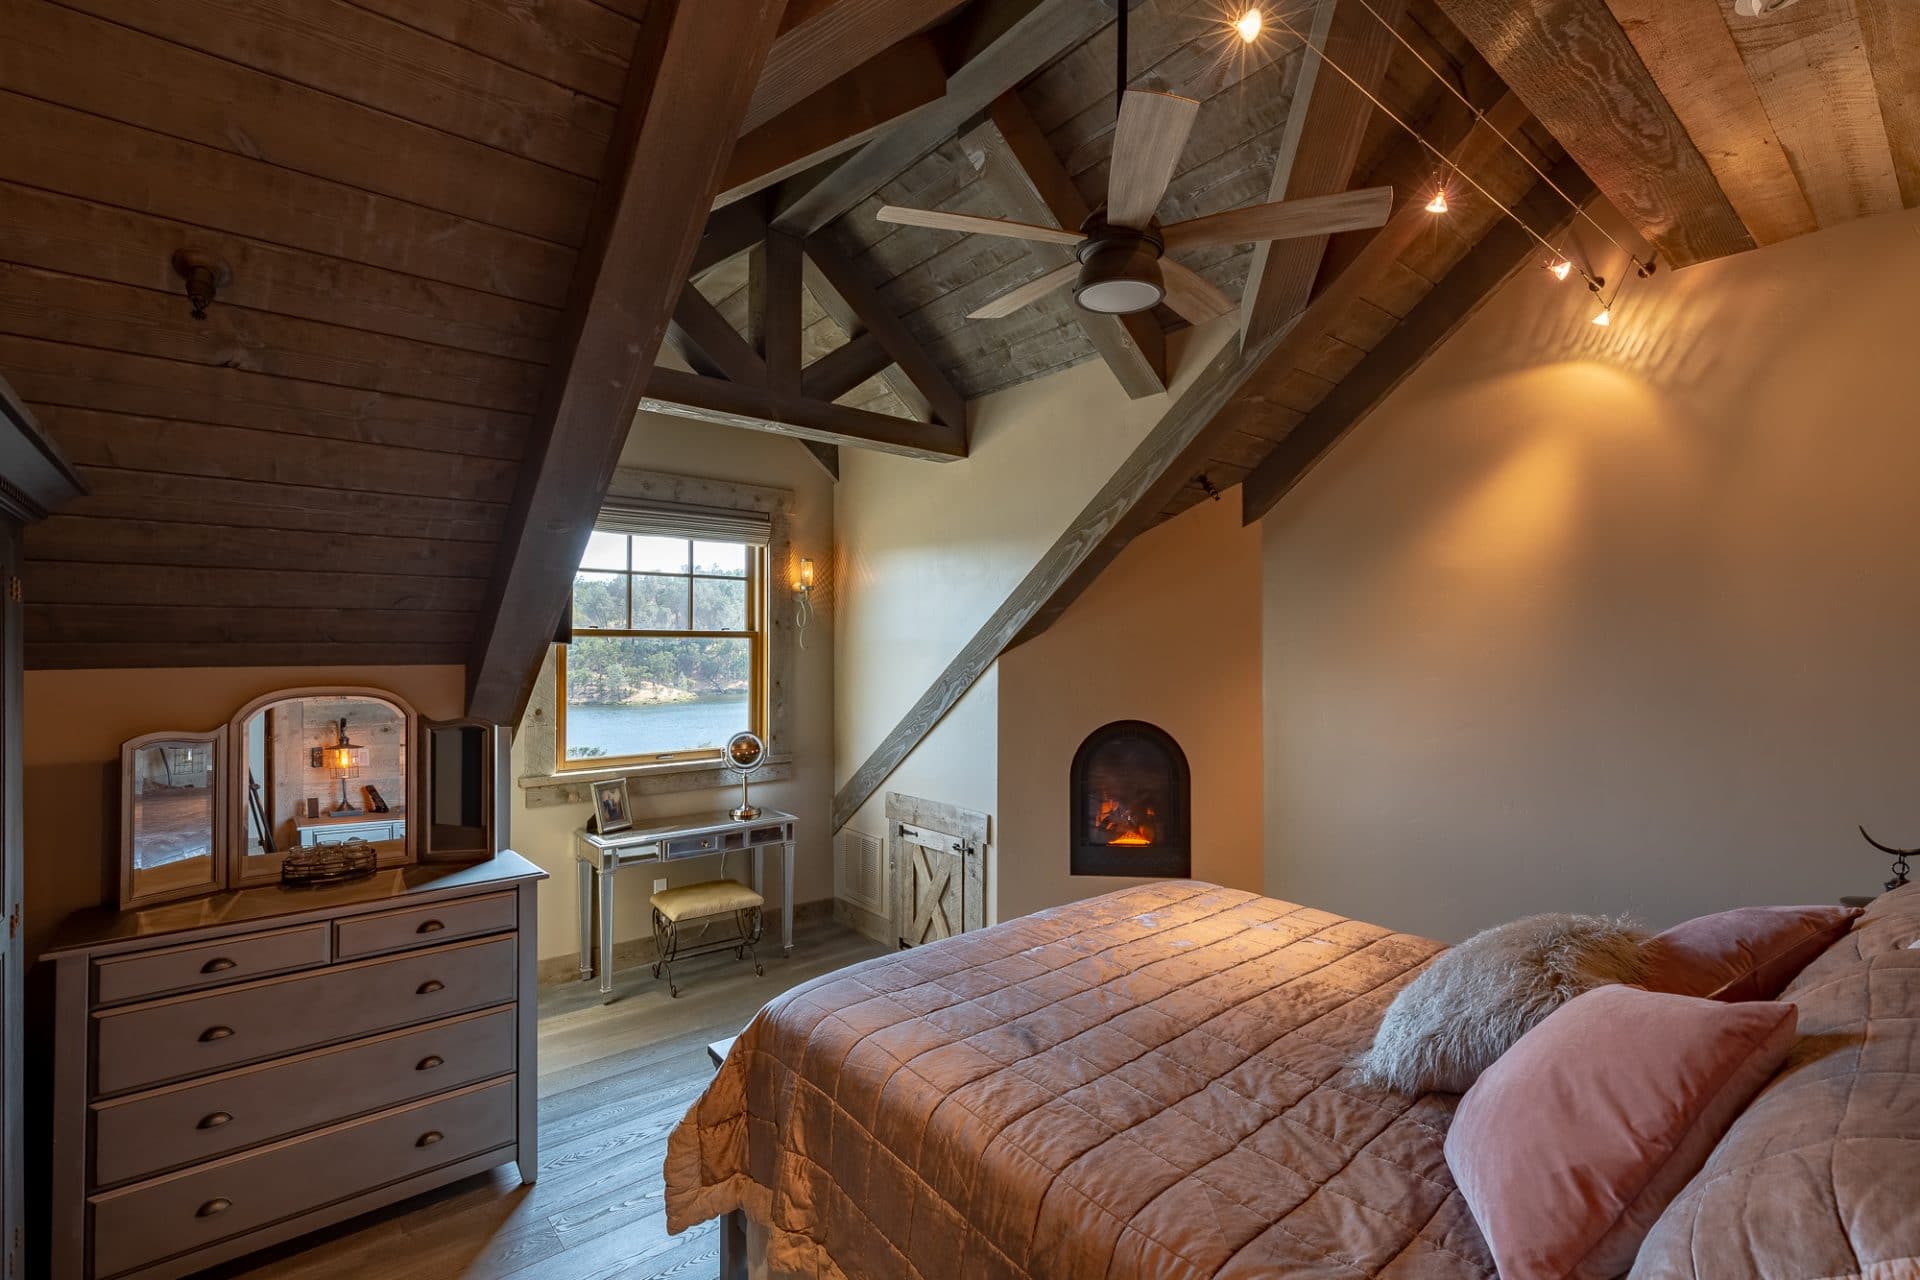
Insulation
Insulation provides resistance to heat flow and reduces costs to expensive heating and cooling systems. However, it’s important to understand where to insulate for the best results possible. Here are some tips for where to add insulation for maximum effect:
- Experts recommend adding insulation to the attic, crawl space, garage, and basement.
- You can insulate your attic door by purchasing covers for the attic stairs or openings. These are easy to install and remove, and can help you save on standard energy costs.
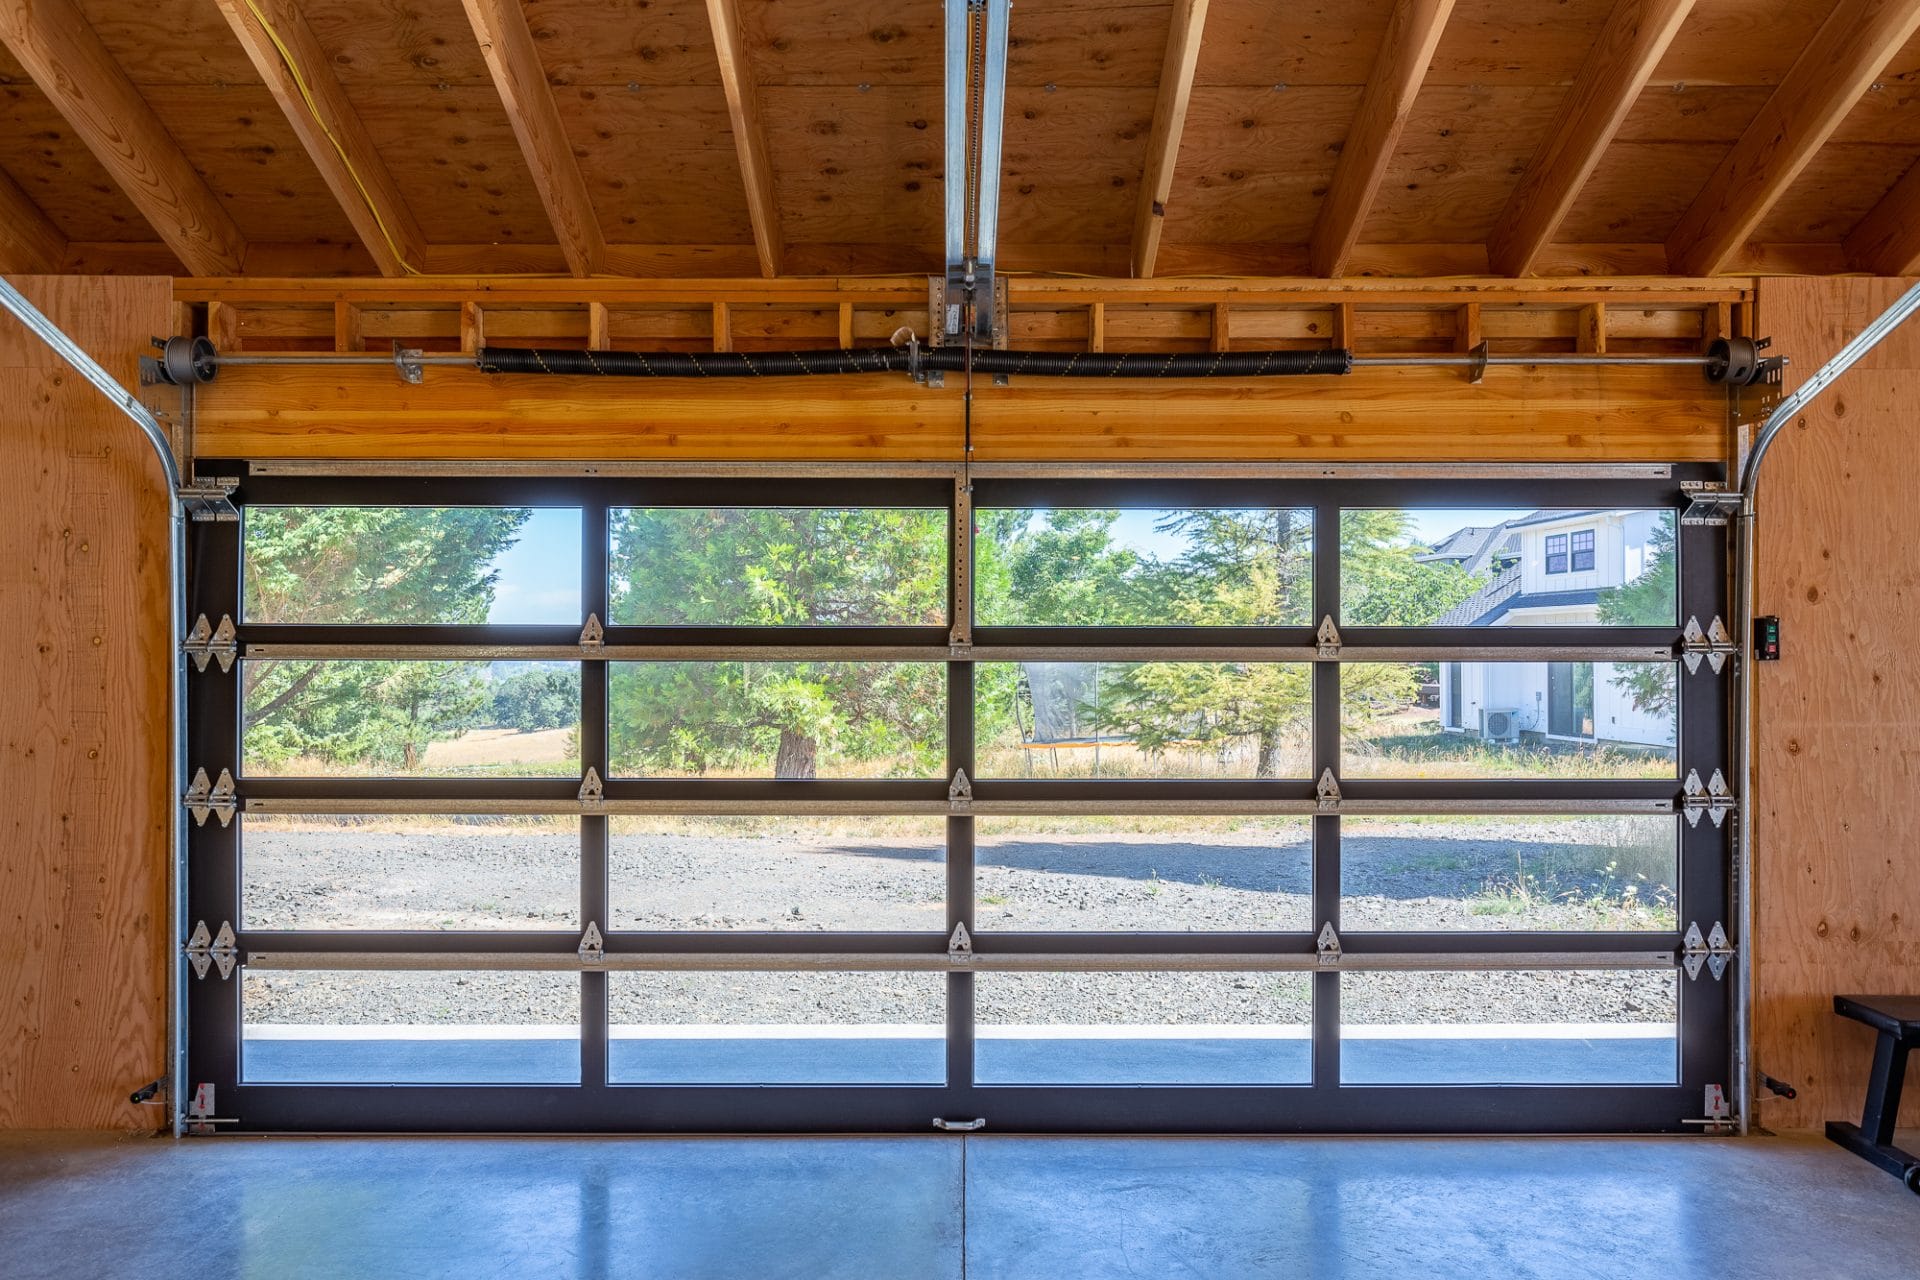
- Most garage doors aren’t insulated. You can always buy insulated garage and exterior doors or otherwise add a storm door.
- Add heavy drapes and rugs, considering rugs add a layer of insulation above the floor and drapes help keep rooms warmer.
- You can create a false ceiling in unfinished basements, which helps insulation between the ceiling and living room.
- You can also insulate crawl spaces by laying an insulating mat over the crawl space floor.
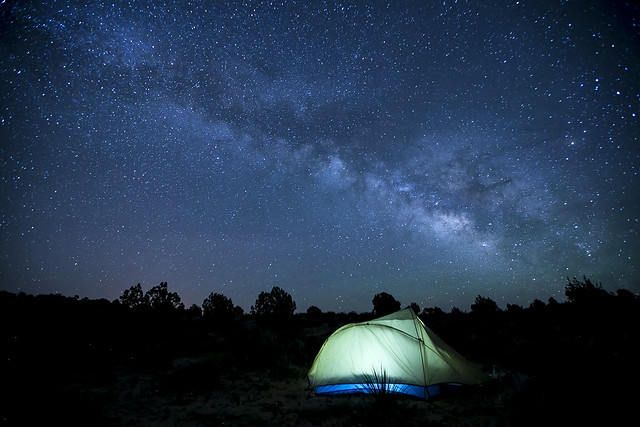
Emergency Preparation
Everyone should have an emergency kit, regardless of where they live. Massive earthquakes, flash floods, and severe snowstorms are just a few of many natural disasters that can hit at any time depending on your region. As a precaution, you should consider storing the following in the event of unforeseen circumstances:
- For your emergency kit at home, consider buying indoor candles, matches, or a lighter in case of power outages. You’ll also want to purchase a battery backup for your electronic devices, as well as extra bottled water, nonperishable food supplies, blankets, and a first-aid kit kept in an easily accessible location. You should also add the phone numbers of your utility companies to your contacts list in your phone.
- For an emergency kit for your car, the Center for Disease Control provides a comprehensive list of everything you should include in your kit.
How to Winterize the Exterior
Winterizing your home doesn’t solely mean insulating the interior. Homes can lose heat in many different areas, so it’s essential to make sure you’ve properly insulated your exterior as well.
Doors and Windows
Warm air can escape easily through doors and windows in your home while cold air seeps in through hidden cracks. For this reason, you’ll want to make sure you follow recommended guidelines for properly securing these areas.
- Check your windows and doors to ensure they’re in good condition. You can do so by inspecting for any cracks and noting if the glass is secure in the window frame. Similarly, you’ll want to make sure your doors are fixed in their frames. Replace or repair as needed. It’s recommended you use energy-efficient doors and windows as they help reduce utility costs. Consider sealing off heating ducts in the basement or attic if you have either in your home.
- If there are any cracks, you can also caulk the windows as a money saving alternative.
- Weatherstripping your doors is necessary if you can see light around the perimeter of the door. Most homeowners typically spend $243 on weatherstripping their homes, according to HomeAdvisor’s True Cost Guide. Depending on the scale of your project, weatherstripping can either cost more or less.
- Installing glass doors on your fireplace is another way of keeping cold air out and warm air from escaping through the chimney.
- You’ll also want to consider installing storm windows and doors. Storm windows and doors are mounted on the outside or inside of the residence and help improve thermal insulation and soundproofing.
Gutters
The last thing you want in the middle of winter is water entering your home. This is why experts advise homeowners to clean out gutters prior to the winter season. If leaves get caught in gutters and aren’t cleaned out beforehand, this can cause water to spill over the side of the house, damaging siding and foundation. Additionally, if temperatures drop and water is trapped in the gutter, the water can freeze and turn to ice. This ice can damage the gutter and roof, leading to possible leaks inside.
To prevent leaves from getting stuck in gutters, you can always purchase gutter screens. However, you’ll need to make sure leaves don’t pile up on top of the screens as this can cause further issues. It’s also a smart idea to check for any holes in the gutters. For the best repair tips for fixing damaged gutters, check out this CBS News article detailing how to winterize gutters.
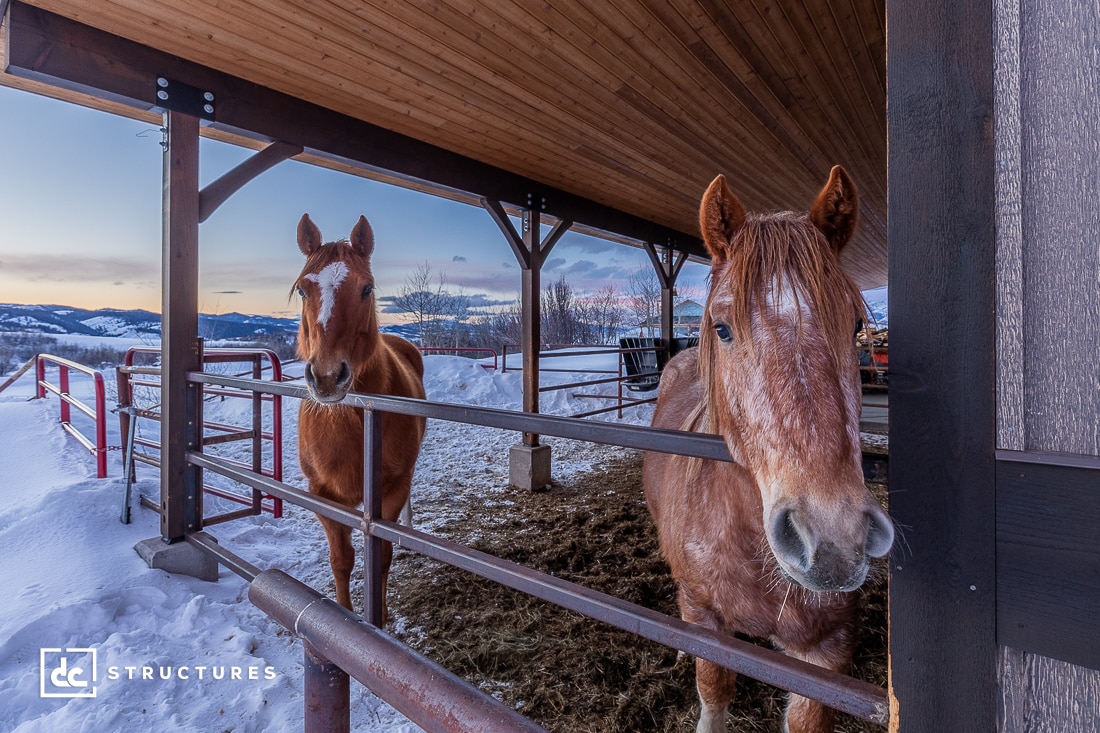
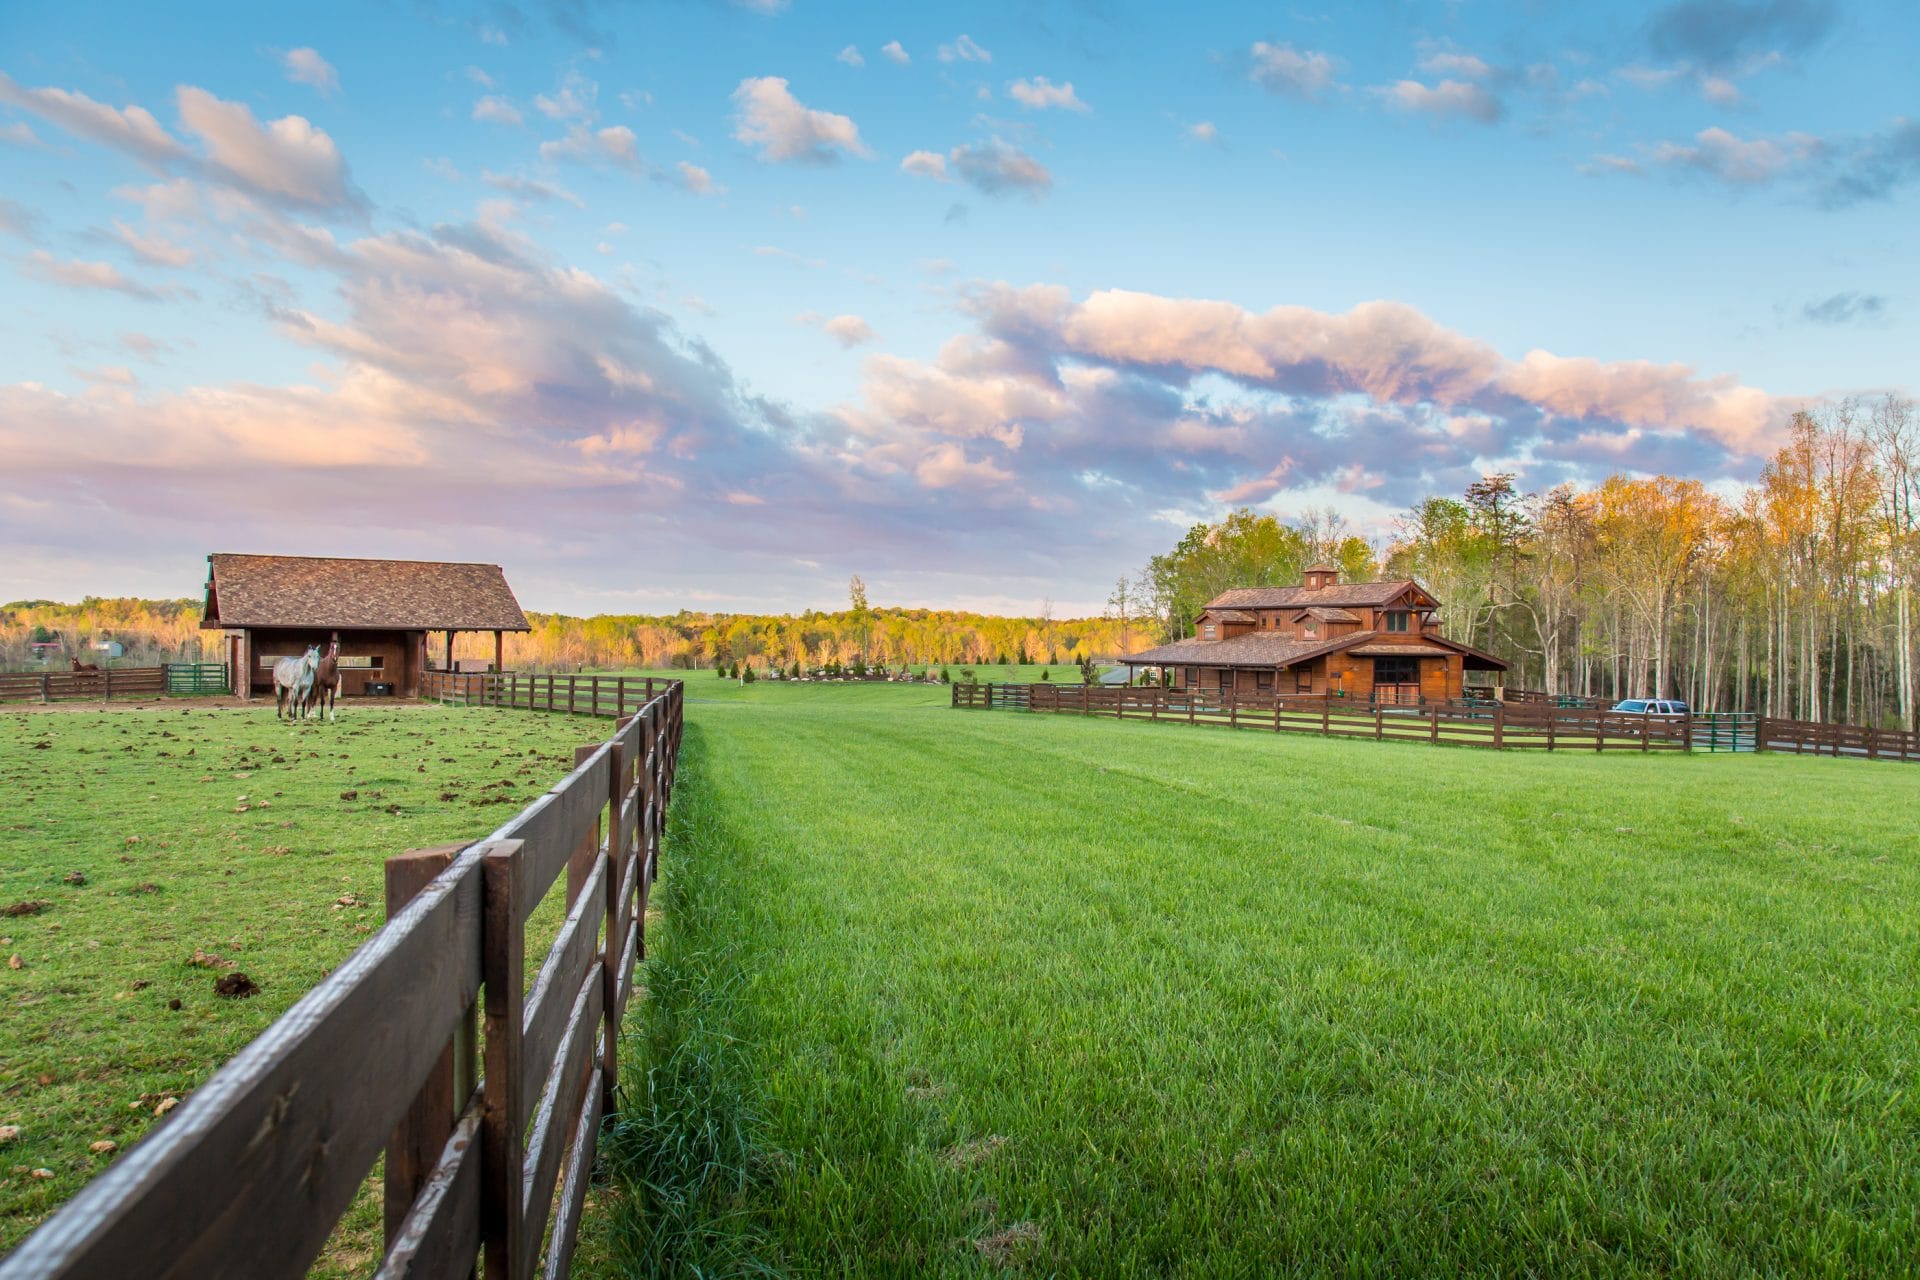
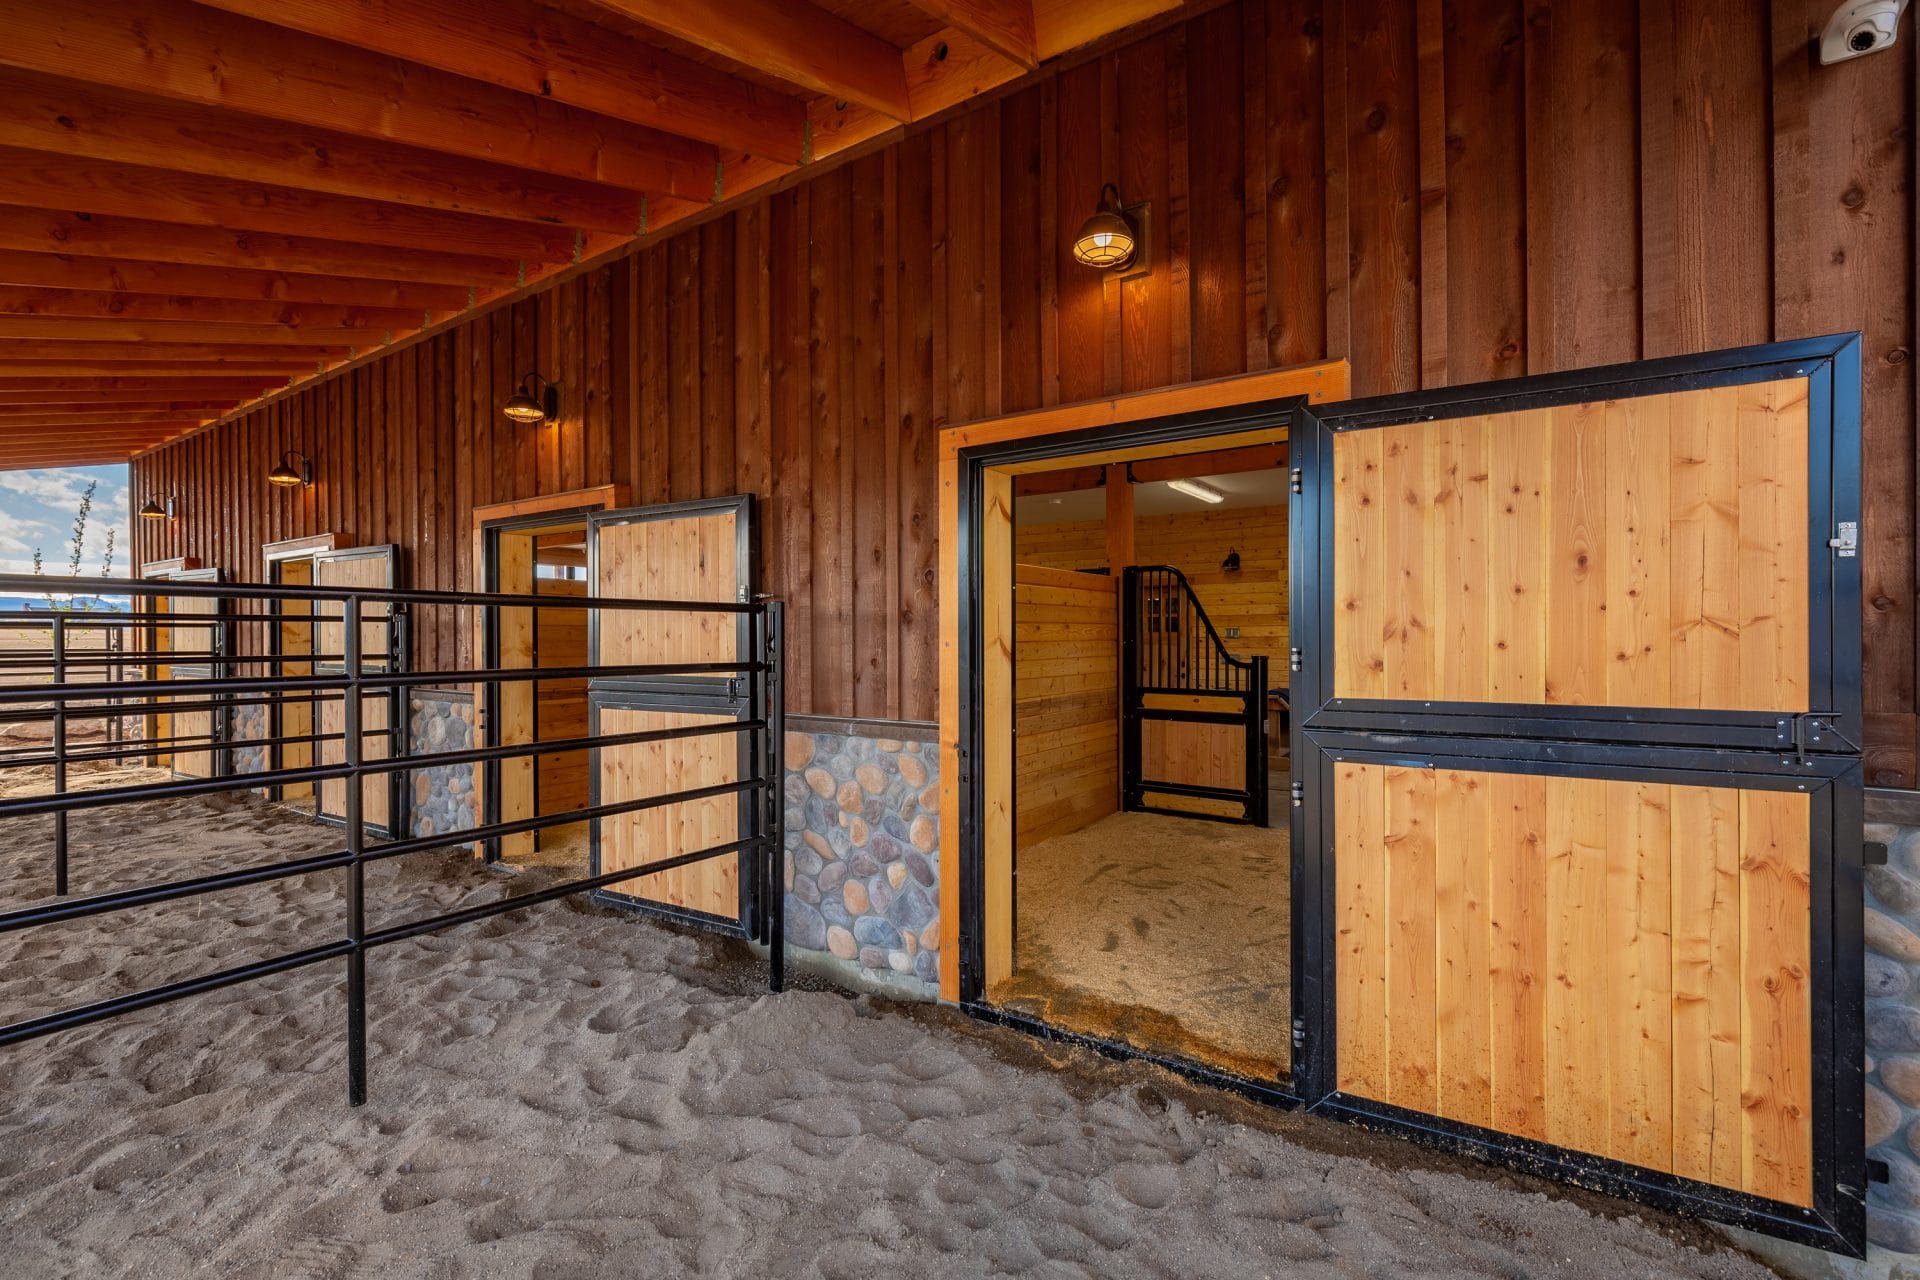
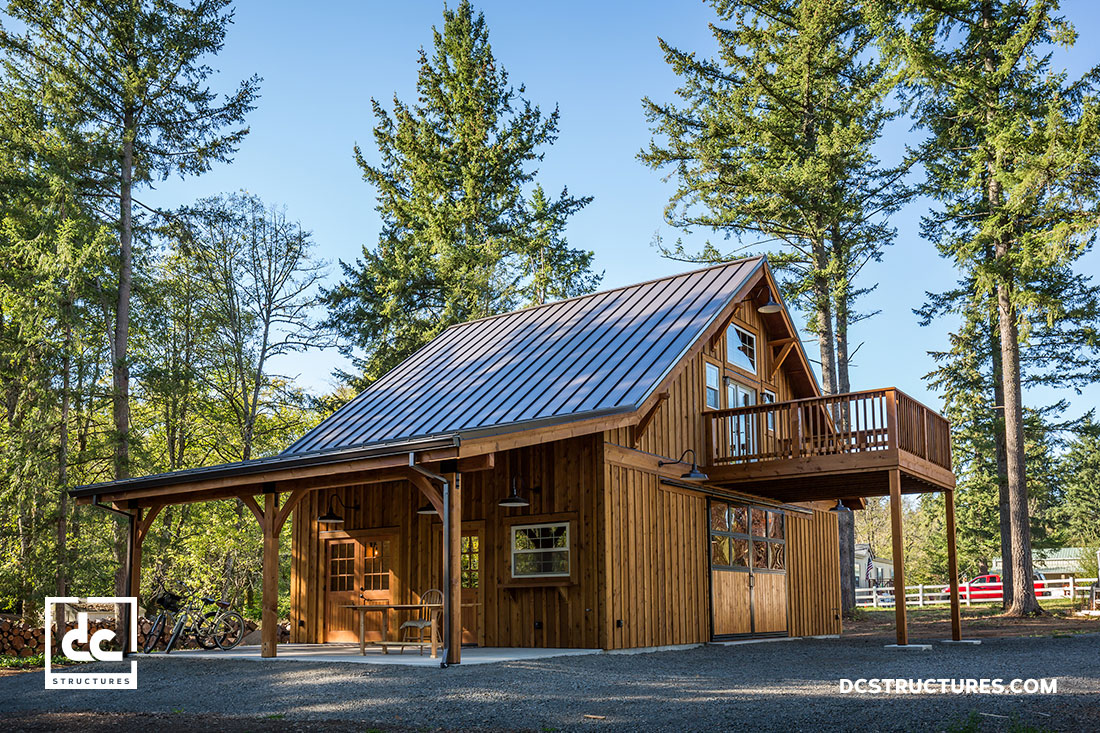
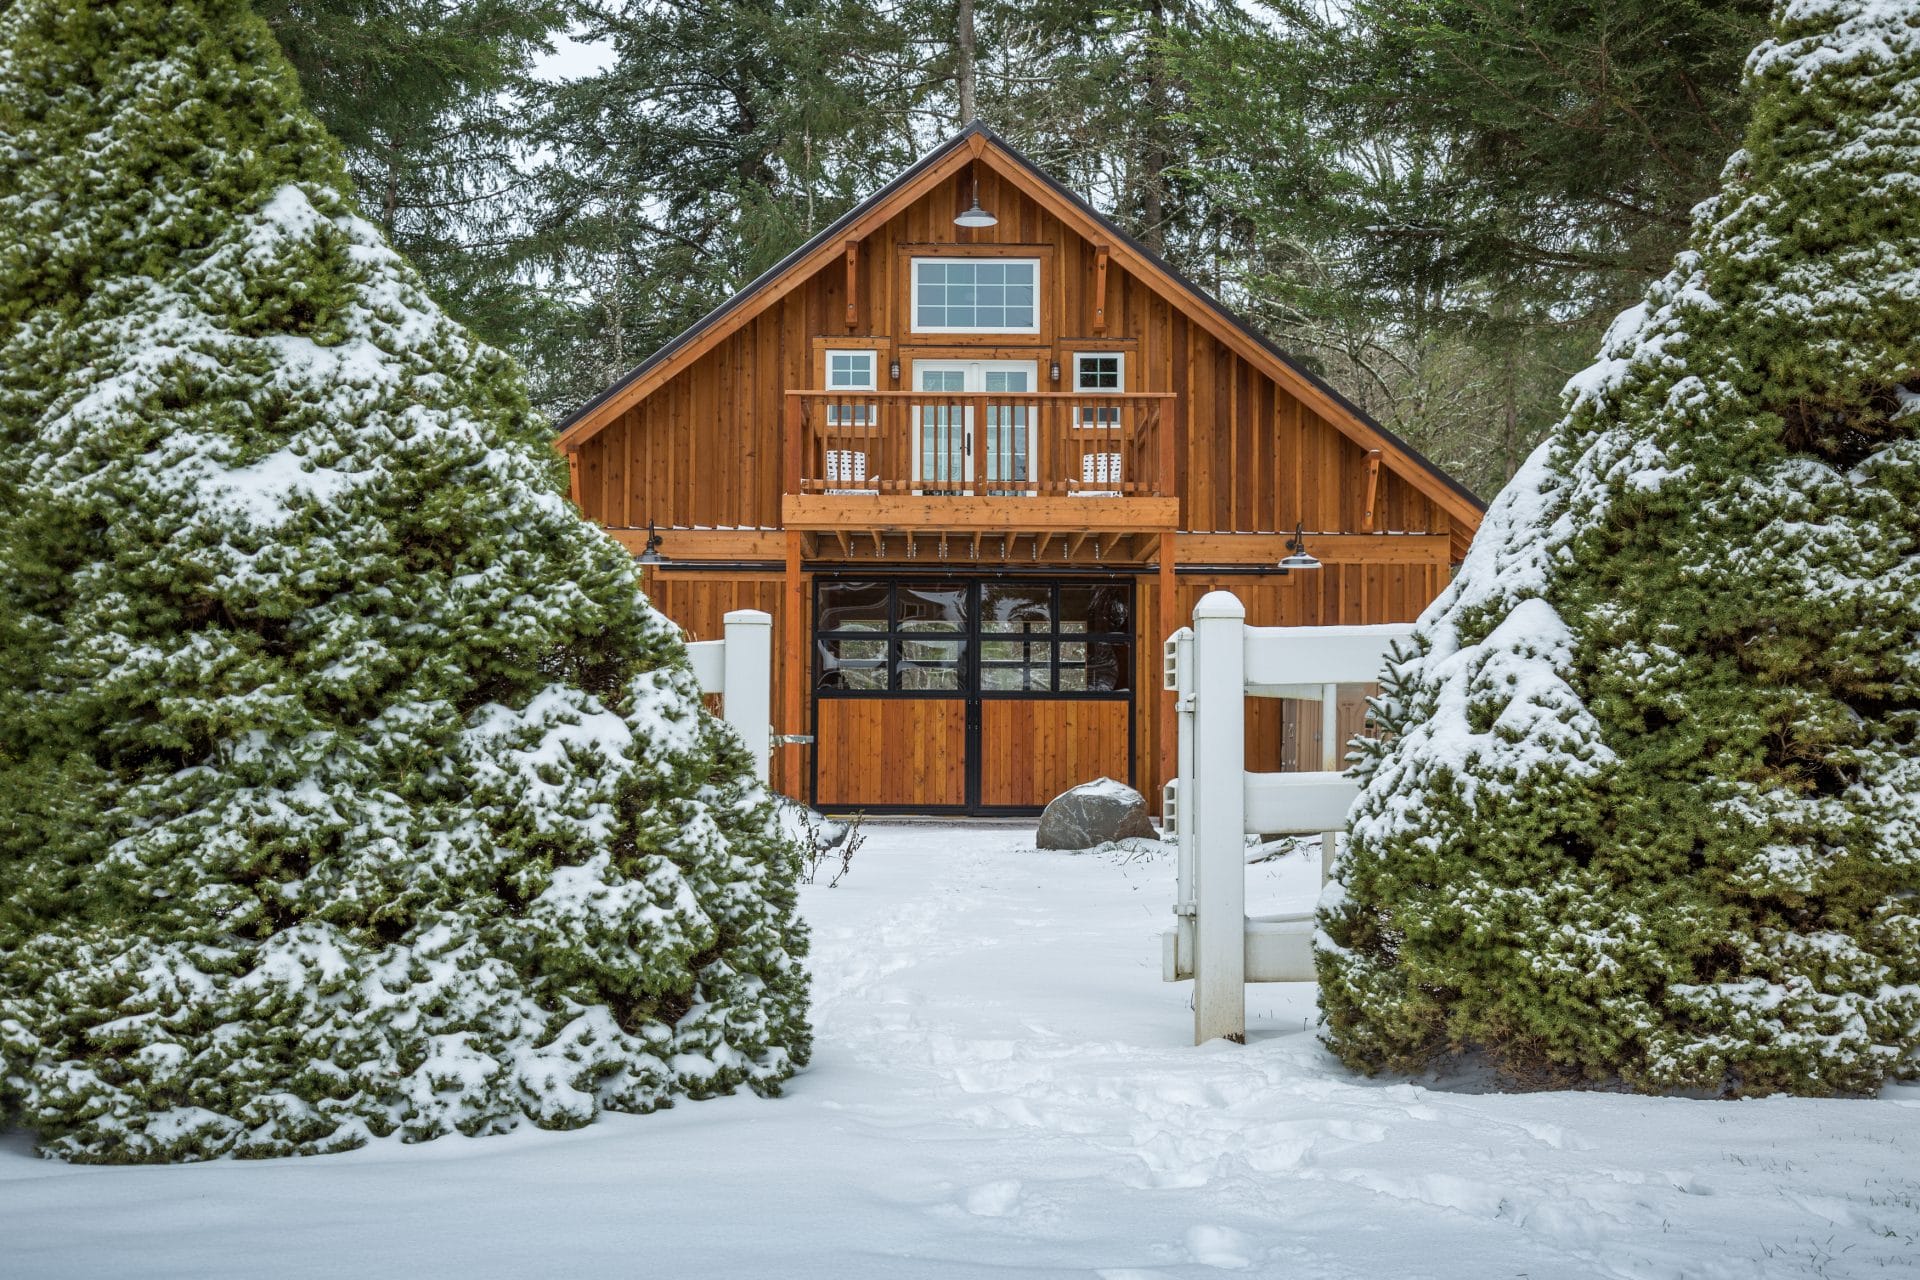
Garages, Sheds, and Barns
 Just as you need to winterize your main residence, you should think about winterizing any additional structures on your property such as garages, sheds, and barns.
- It’s important to clear away any debris close to the exterior and interior walls of outside structures, especially if there are piles of leaves, sticks, and grass clippings gathering near the base. Removing this debris can prevent any critters or pests from making your shed their home during the wintertime.
- You’ll also want to apply weatherstripping to the windows and doors of your shed or garage to prevent air and moisture from entering and causing mildew to form or tools to rust.
- If you notice the bottom seal on your garage door is worn or cracking, you should replace it immediately. It’s very easy to remove the bottom seal and replacements can be found at any hardware store.
- Lastly, any stored organic items should be put in waterproof bags to prevent mildew and mold from forming.
For a full list of helpful tips and expert recommendations, you can visit the CDC site or U.S. News & World Report for more information on how to best winterize your home before the snow arrives!