We talk a lot about our prefabrication method and, more specifically, the benefits of utilizing our pre-cut heavy timbers for your installation process. However, something we don’t discuss nearly as often as our pre-engineered heavy timbers are what we use to keep our posts looking beautiful over time and protected from moisture build-up and rot — aka knife plates.
Knife plates are steel connection hardware pieces welded to fit seamlessly with our pre-cut heavy timber posts. When used during construction, knife plates create a buffer between our heavy timbers and the structural footing below so any moisture in the foundational concrete can’t easily seep up into the wood. Knife plates also keep our heavy timbers rooted firmly to your foundation, creating a sturdy framework for your structural shell. Additionally, these hardware pieces help keep the connection between your structural concrete and posts hidden so you can enjoy a cleaner look for your exterior framing components. With all these benefits to consider, it’s easy to see why we implement knife plates as part of our process. That said, it’s important to understand some key differences* between our standard knife plates and those we offer as an available upgrade.
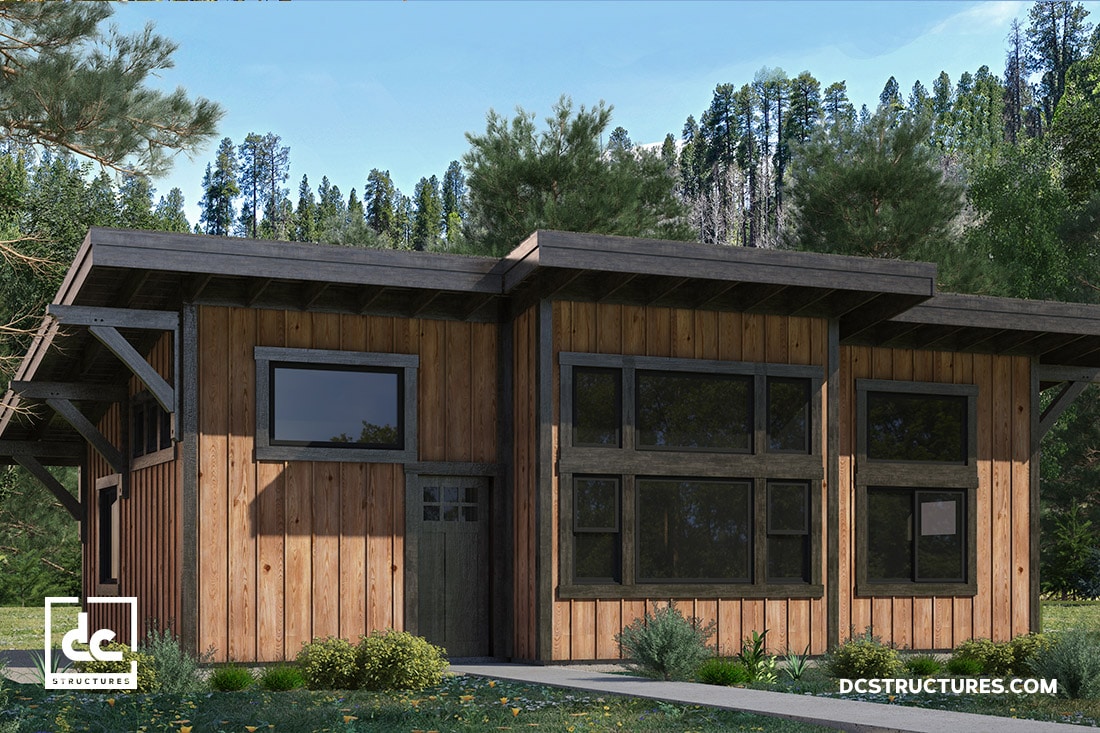
*The information listed below applies to exterior installations only. When used for interior applications, our standard knife plates create a clean, seamless appearance for your heavy timber posts. See below for reference:
Our Knife Plate Options & Their Benefits
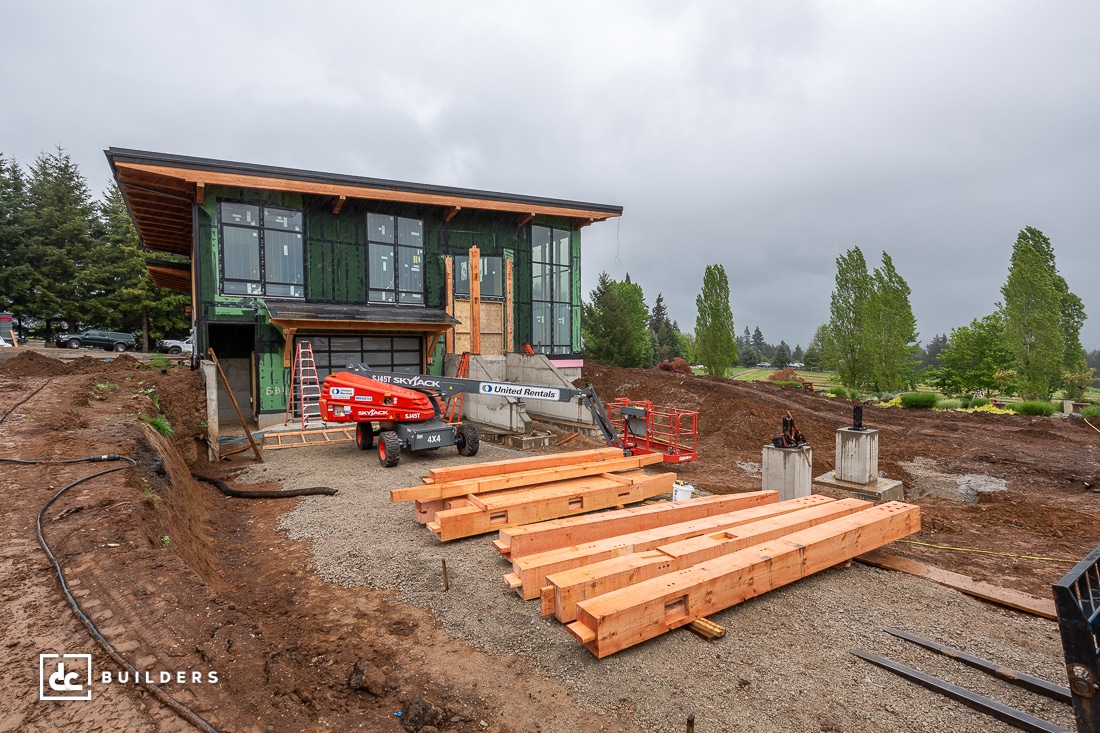
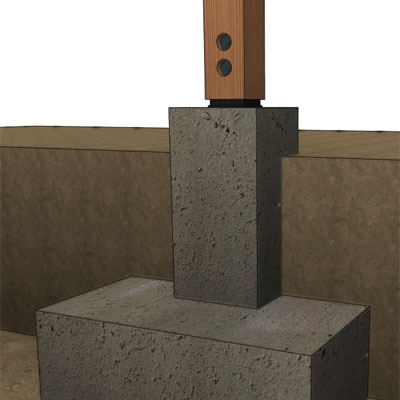
At DC Structures, we offer two different choices for knife plates — the first being our standard knife plates. Our standard knife plates are powder-coated steel connection pieces that are installed on elevated concrete pedestals poured above your structural footing. These concrete pedestals provide a solid, weatherproof barrier between the ground and posts, making our standard offering a practical option for clients in areas that experience heavy rain and snow.
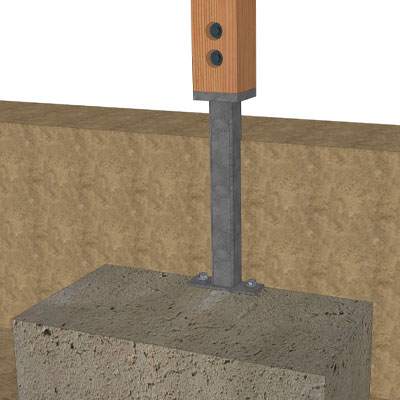
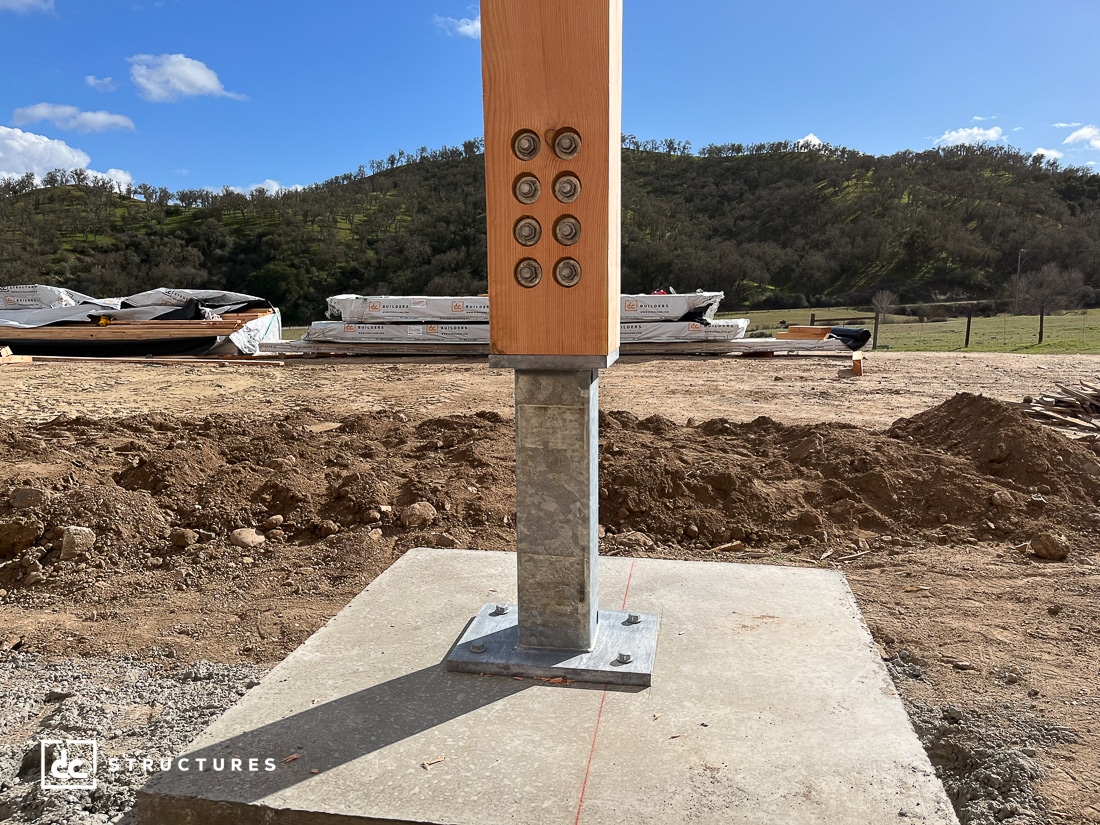
Our second option, on the other hand, is our horse-friendly knife plates. These are steel connection hardware pieces that are hot-dipped galvanized and powder-coated for maximum protection. The primary difference between this option and our standard is our horse-friendly knife plates are bolted directly into the structural footing and feature an I-shaped design that raises the bottom of our posts to a pre-determined elevation.
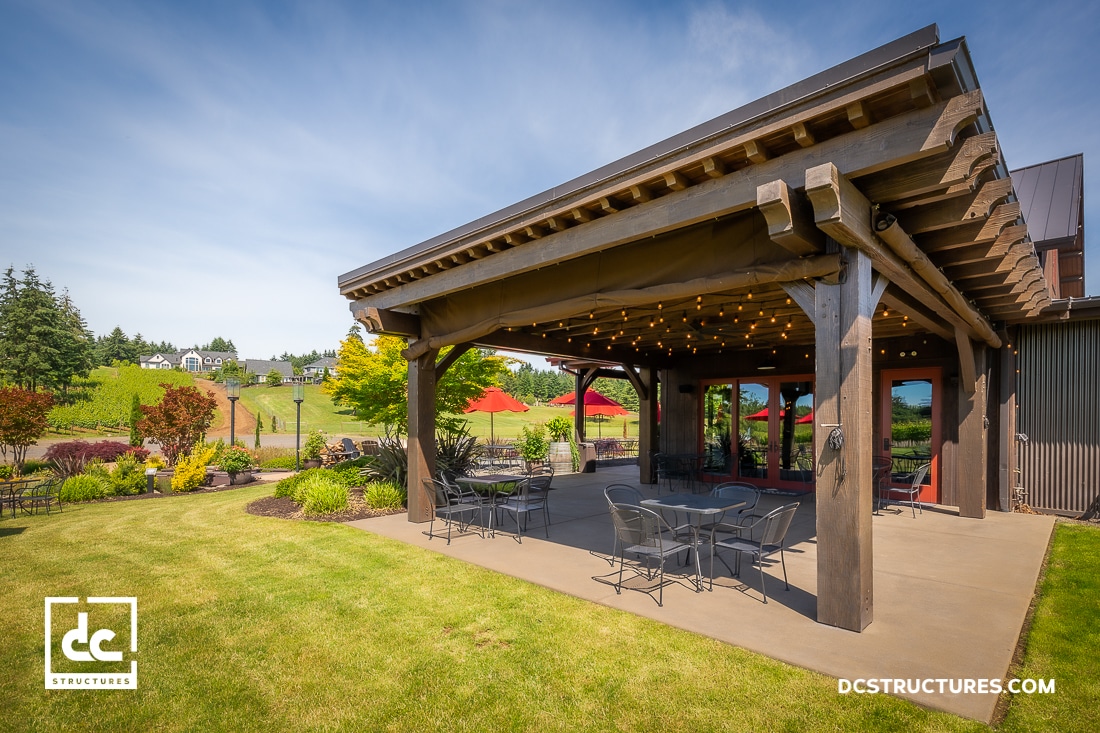
One of the reasons why customers like our horse-friendly knife plates is because this option creates a sleek, polished appearance for your posts once your finished surfaces are complete. Instead of resting on concrete pedestals, your posts will appear as though they’re sitting right above your finished surface, providing a seamless look for your exterior. Another advantage to our horse-friendly knife plates is that your crews can install them before adding your surface material. By situating your posts above the area where your finished surface will be, your framing crews can easily map out and complete your drainage, utility hook-ups, and mechanicals before installing your surface material.
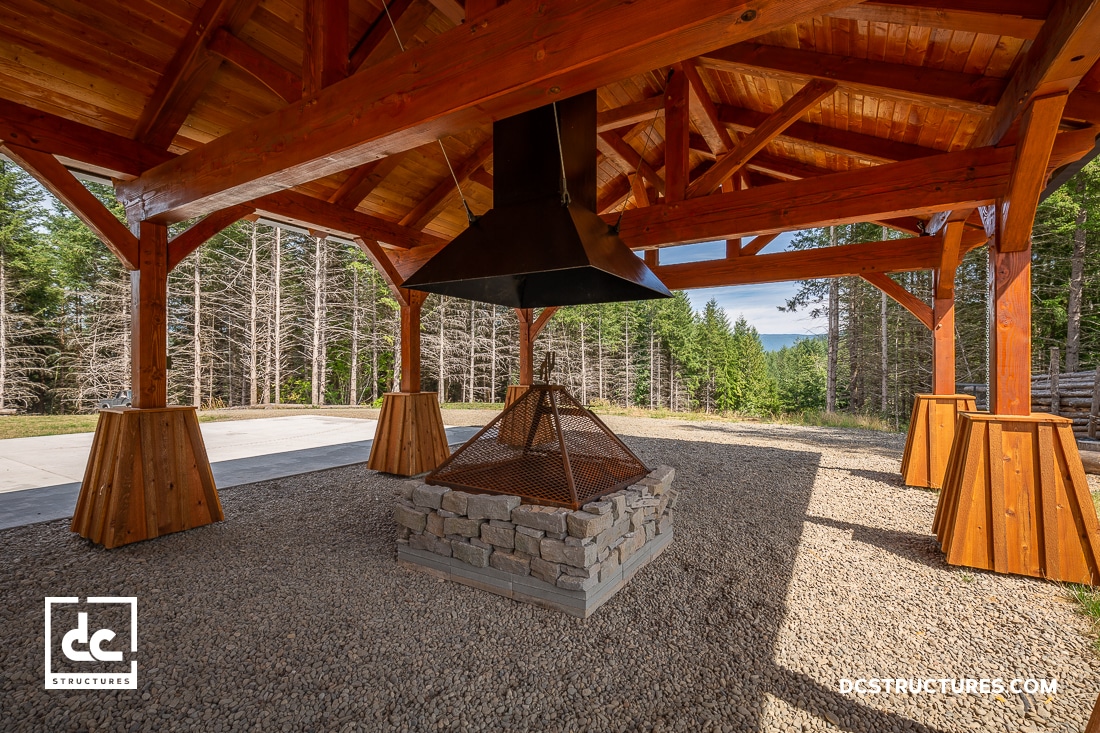
Most importantly, our horse-friendly knife plates are a great investment for horse owners and pet owners alike because they offer optimal safety for your animals. Because of the way our horse-friendly knife plates are designed, our clients can use sand, pavers, or other types of horse-safe material for their finished surface. This gives our customers who prefer softer surfaces for their turnout, paddock, or stall areas more leeway in deciding which surface material is best for their horse barn or riding arena project. Additionally, this option means our clients don’t have to worry about their horses tripping or injuring themselves on pesky concrete pedestals surrounding their posts. With your knife plates completely hidden and chew protection added to exposed corners of your posts, you can keep your heavy timbers in great shape and your horses protected from preventable accidents.
The choice between our standard knife plates and horse-friendly knife plates ultimately comes down to your preference. For instance, if you live in an area subject to inclement weather, you may be inclined to choose our standard knife plates as a precaution. Even so, there are plenty of ways that we can make your selection work for you and achieve your desired appearance and function.
Interested in learning more about our standard and horse-friendly knife plates? Be sure to visit our Options & Upgrades page or give us a call at (888) 975-2057 to speak with one of our representatives.