
Multi-Family vs. Single-Family Homes: Which Is Right for You?
The real estate market is an ever-changing, ever-evolving entity. In 2020, who could have predicted that a global pandemic…
 LinkedIn
The real estate market is an ever-changing, ever-evolving entity. In 2020, who could have predicted that a global pandemic…
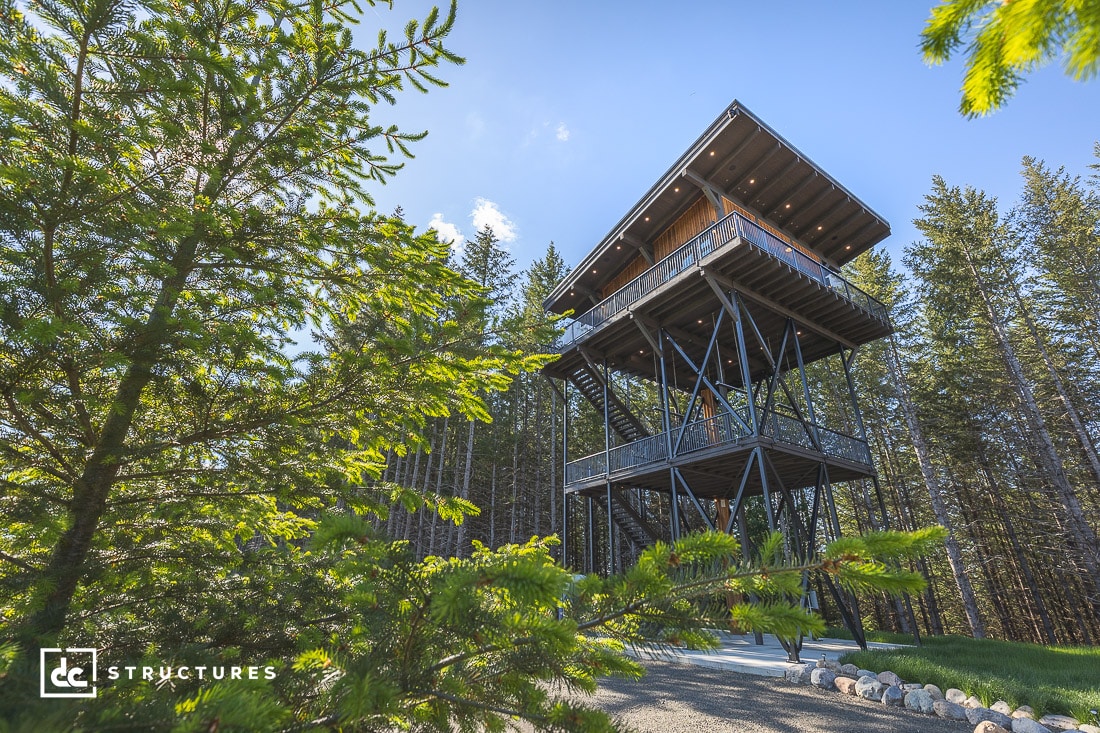
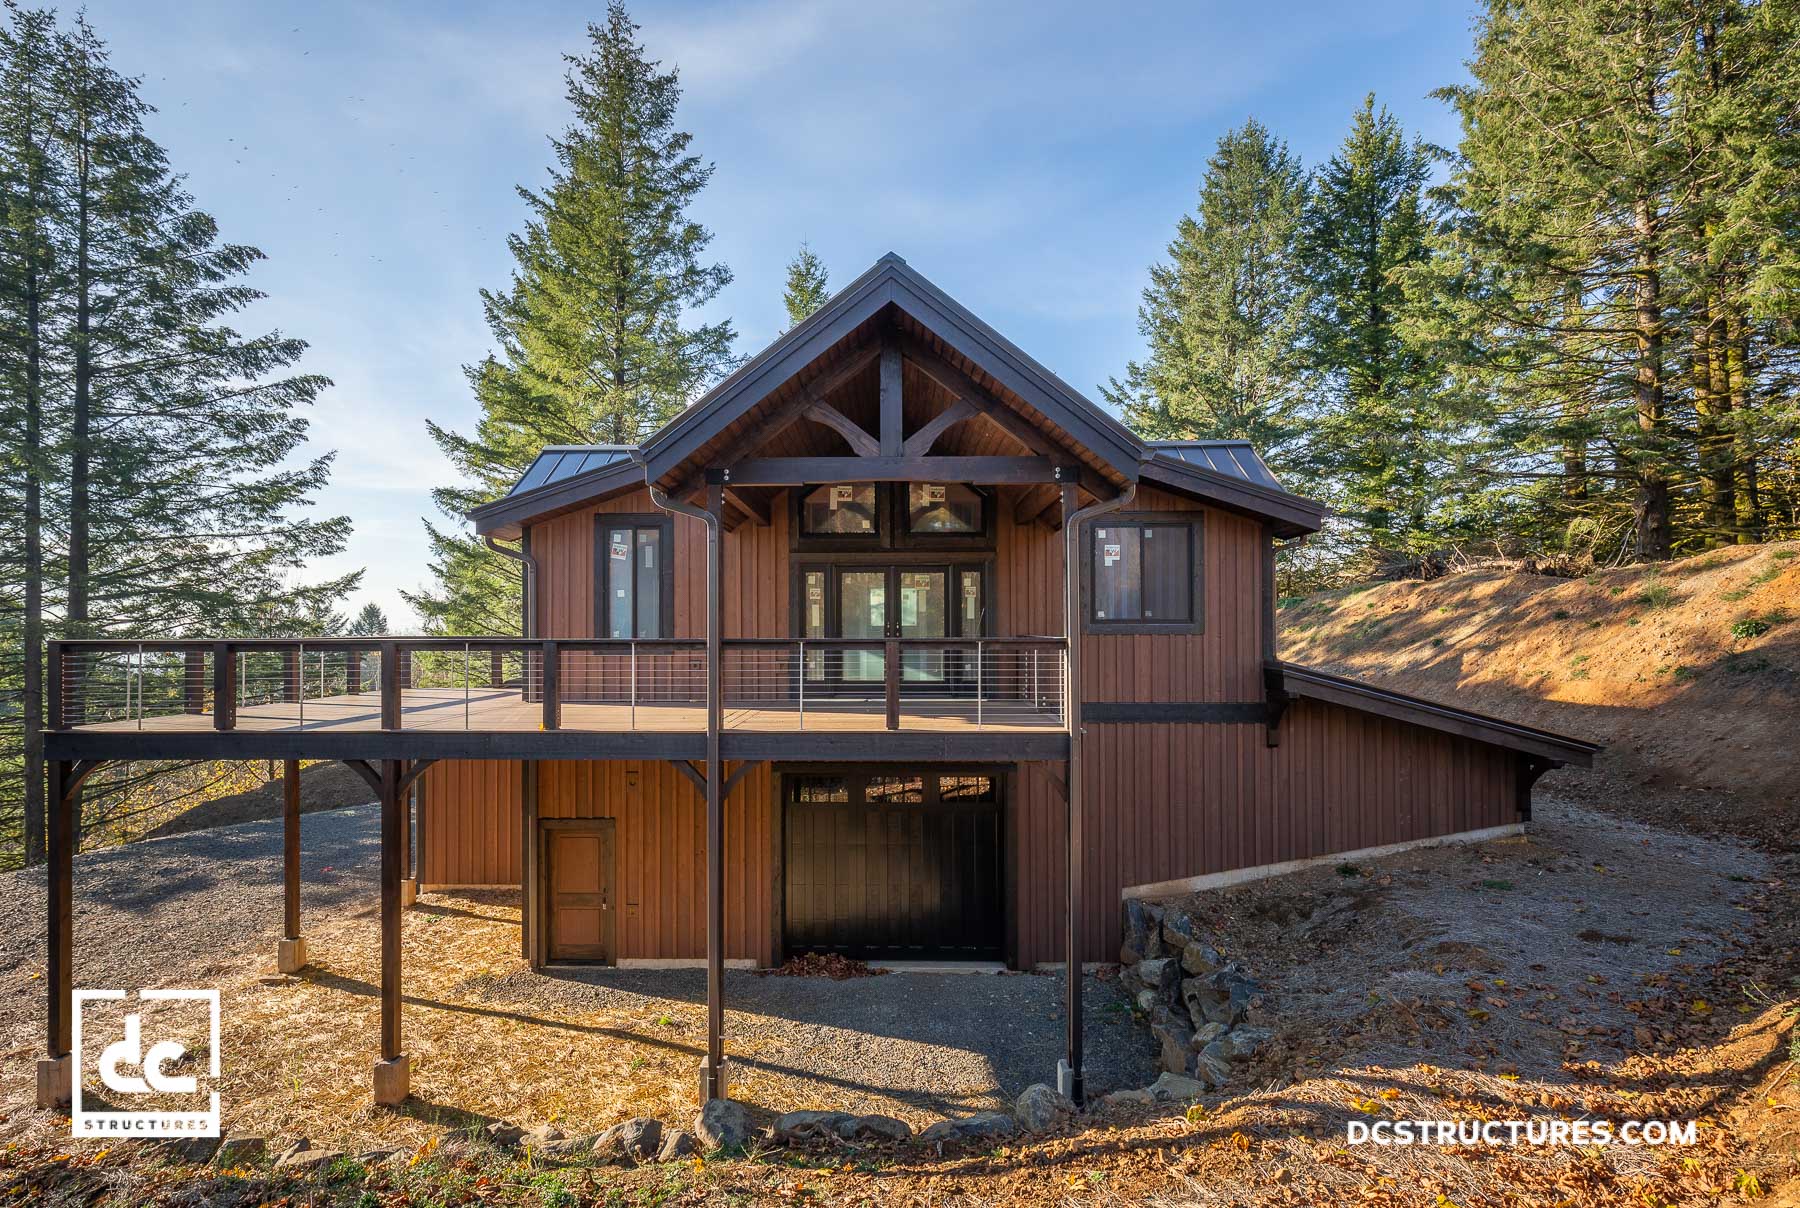
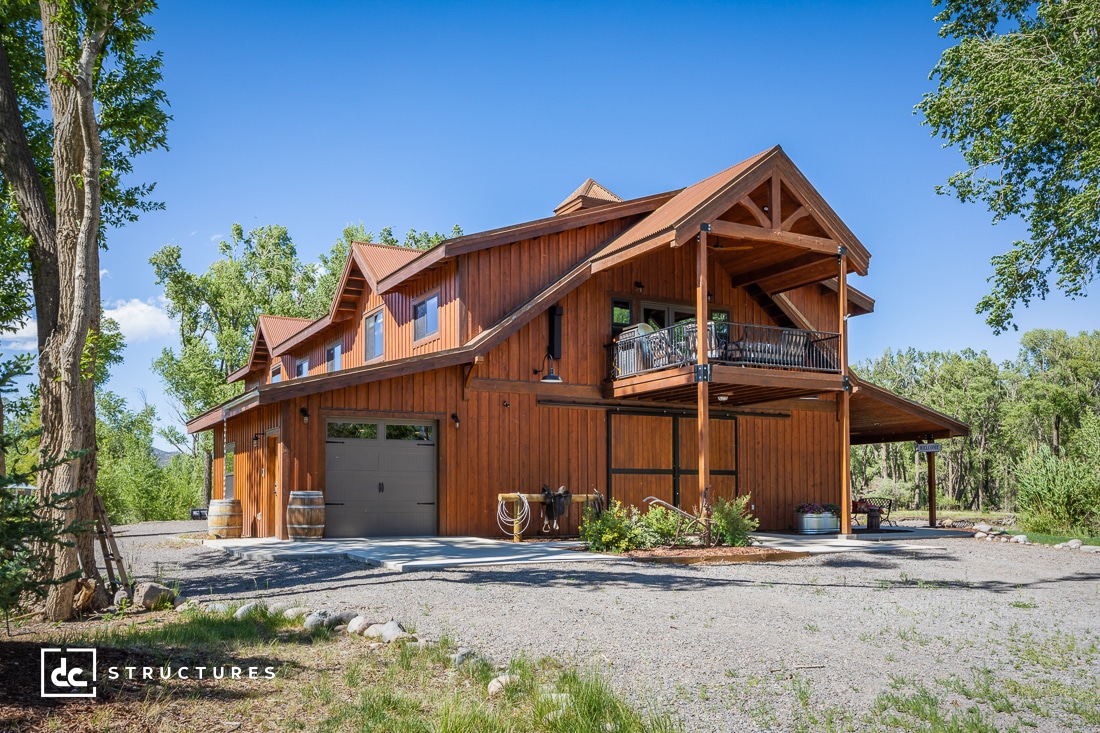
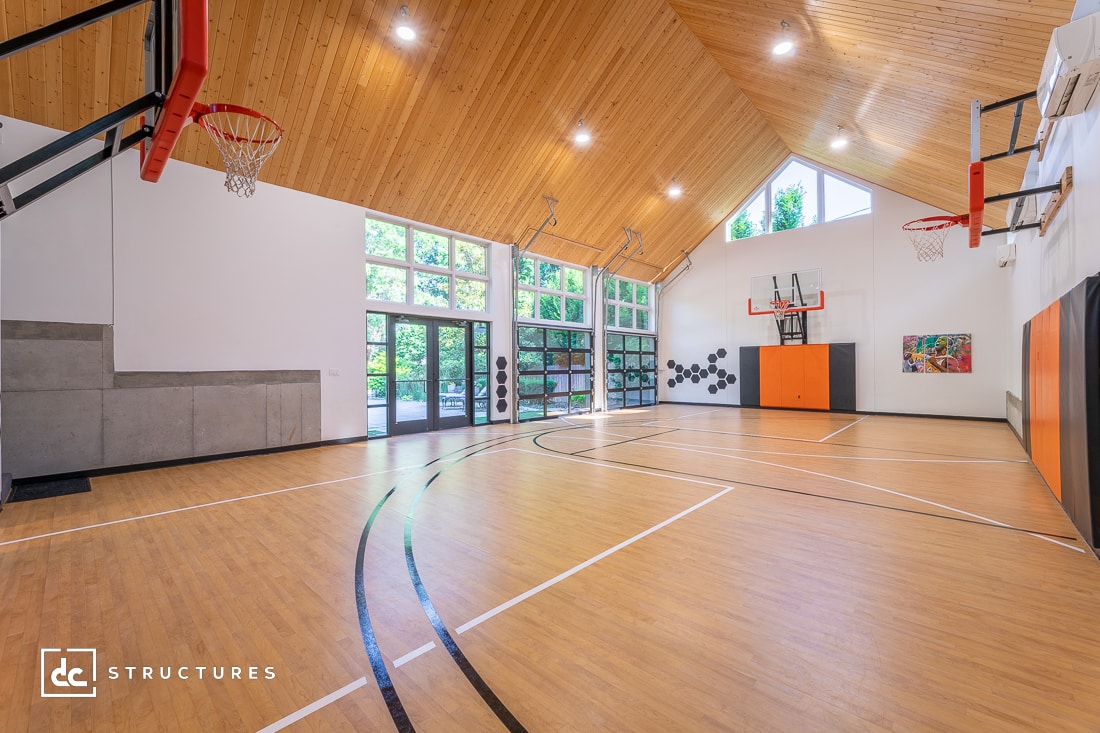
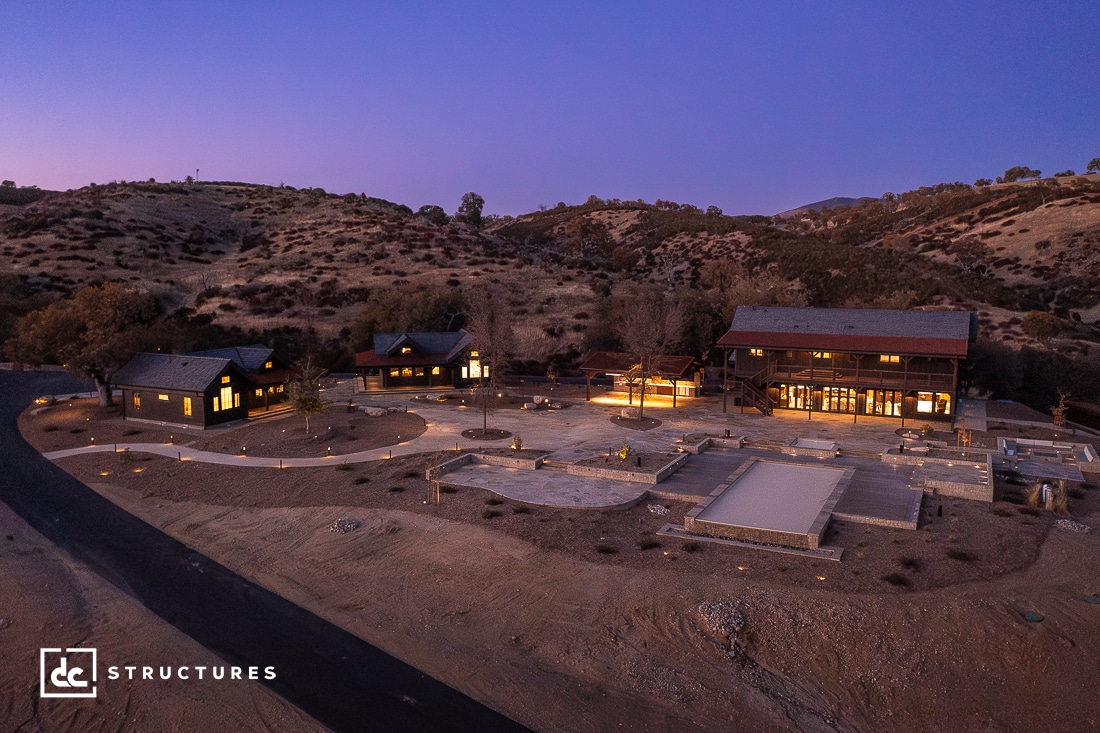
One look at our gallery is all it takes to fall in love with our prefab wood structures. Those…
It’s been a full year since Los Angeles experienced two of the most destructive wildfires in California history—the Palisades…
Mariah Carey said it best: “It’s time!” Yes indeed, the holiday season is officially here! And while hot cider,…
Today is Adventure Day—a day dedicated to living life to the fullest, embracing bravery (sometimes in scary, adrenaline-seeking ways),…
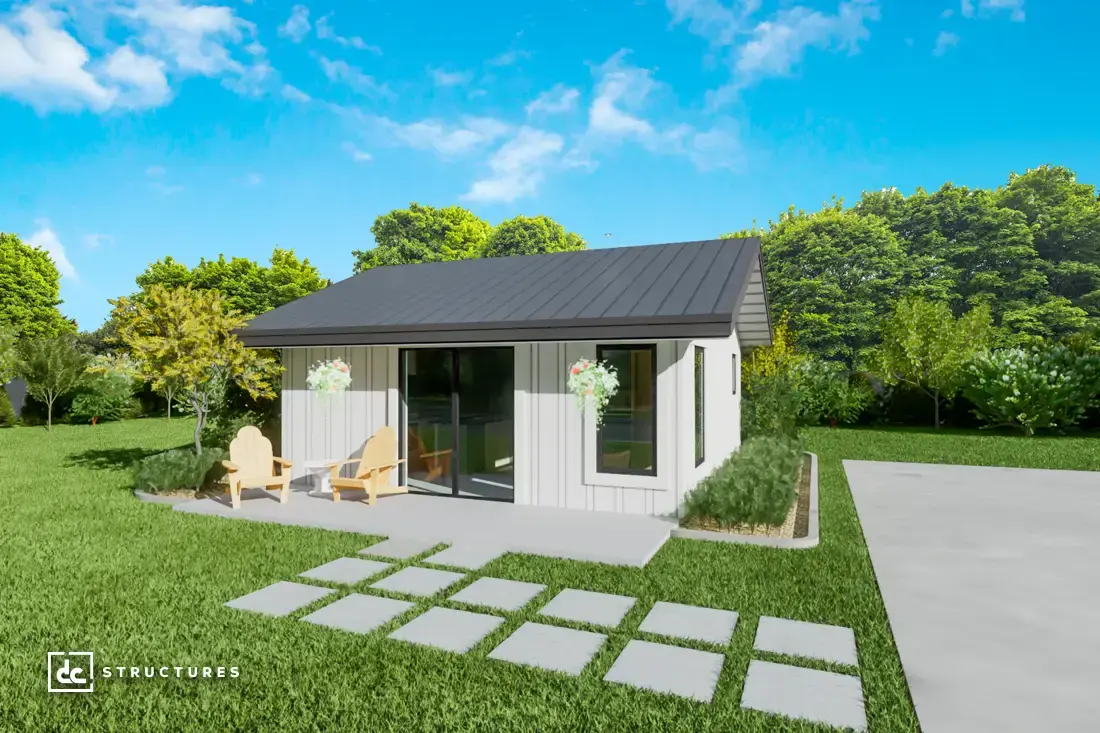
Backyard cottages, granny flats, and tiny homes are no longer niche—they’re the future of housing. With demand for flexible…